


Interested in creating your own MetaMask wallet but not sure where to begin? Look no further. We’ll show you all the steps with screenshots.
In this blog post, you’ll learn:
- Downloading the MetaMask Chrome extension.
- Creating a MetaMask wallet.
- Accessing your wallet account.
- Understanding the user interface.
No need to be concerned if you are not familiar with MetaMask, we will also cover that. 😊
What is MetaMask?
MetaMask is a cryptocurrency wallet from which you can manage your Ethereum blockchain — it is, however, capable of adding any blockchain through its RPC features. MetaMask is available in both browser extension and mobile app format (Android and iOS both).
Due to its decentralized nature, it is used by many people to transfer and store cryptocurrency on a long-term basis since it cannot be compromised indisputably.
MetaMask was originally only available as a browser extension for Chrome and Firefox, but due to its increasing popularity among cryptocurrency enthusiasts, an iOS and Android app was released.
Steps to Create a Wallet on MetaMask
Let us now proceed to the most important aspect of creating your MetaMask wallet.
1. Download MetaMask Extension:
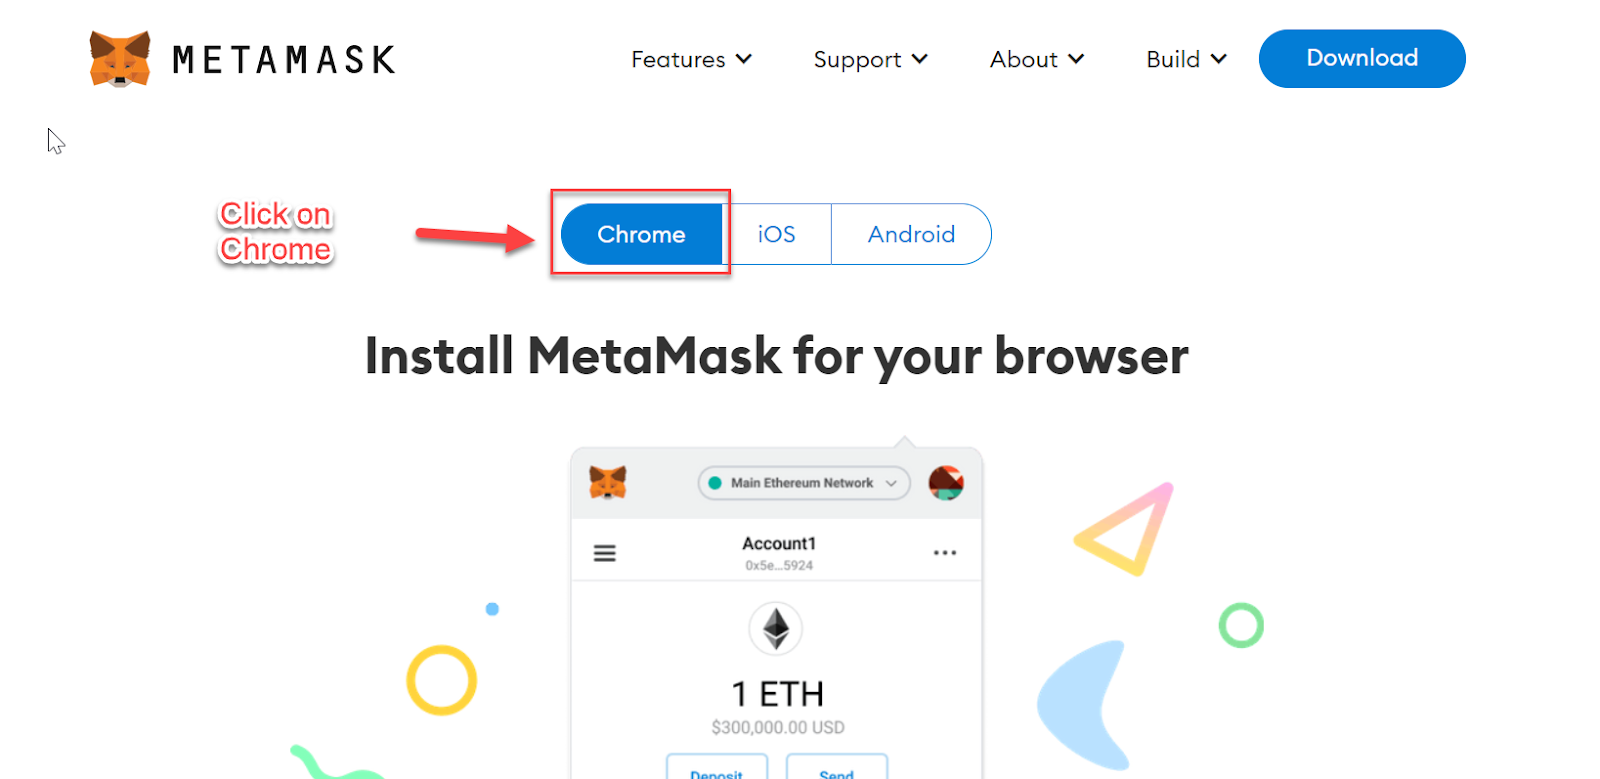
First, go to the website MetaMask.io, click the Download button. On its official website, MetaMask can be downloaded for a variety of devices.

There are three options on this page: "Chrome, iOS, and Android." I will demonstrate how to create a wallet on the desktop by selecting the "Chrome" option.
The procedure is essentially the same for Android and iOS. Visit the app store, locate the app, and install it.
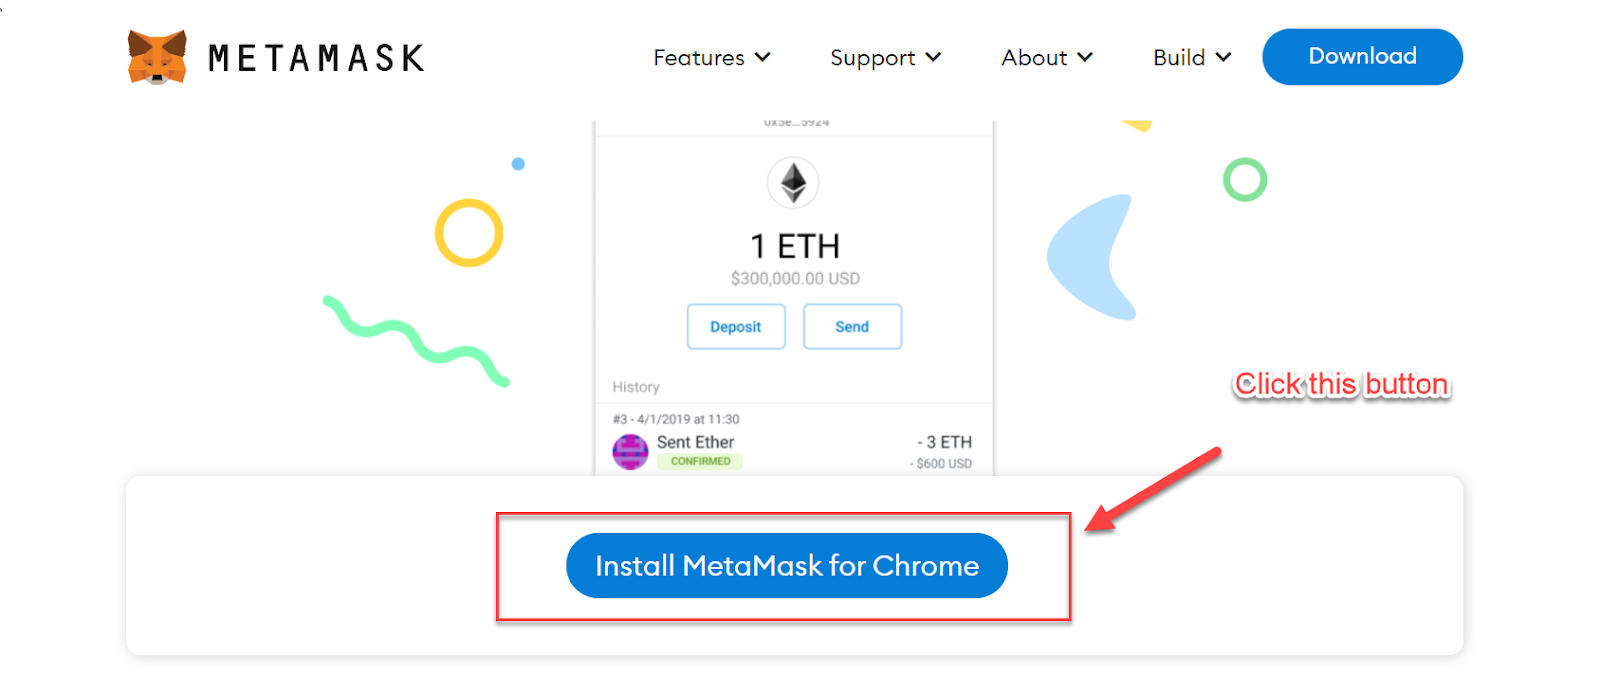
You will see an "Install MetaMask for Chrome" button when you scroll down on the page. Click on that, and then you will be redirected to the Chrome web store.
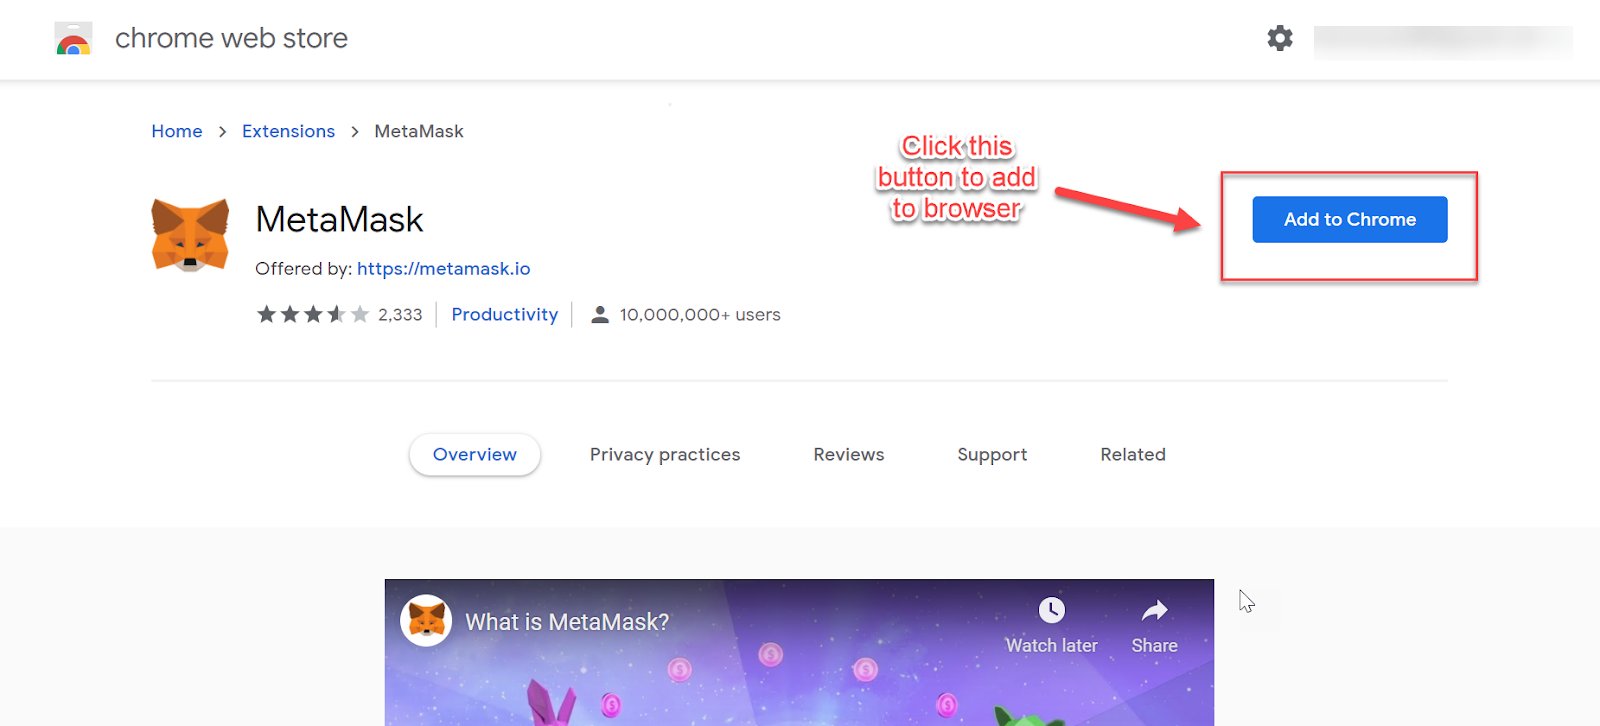
When the web store opens, click on the "Add to Chrome" button.
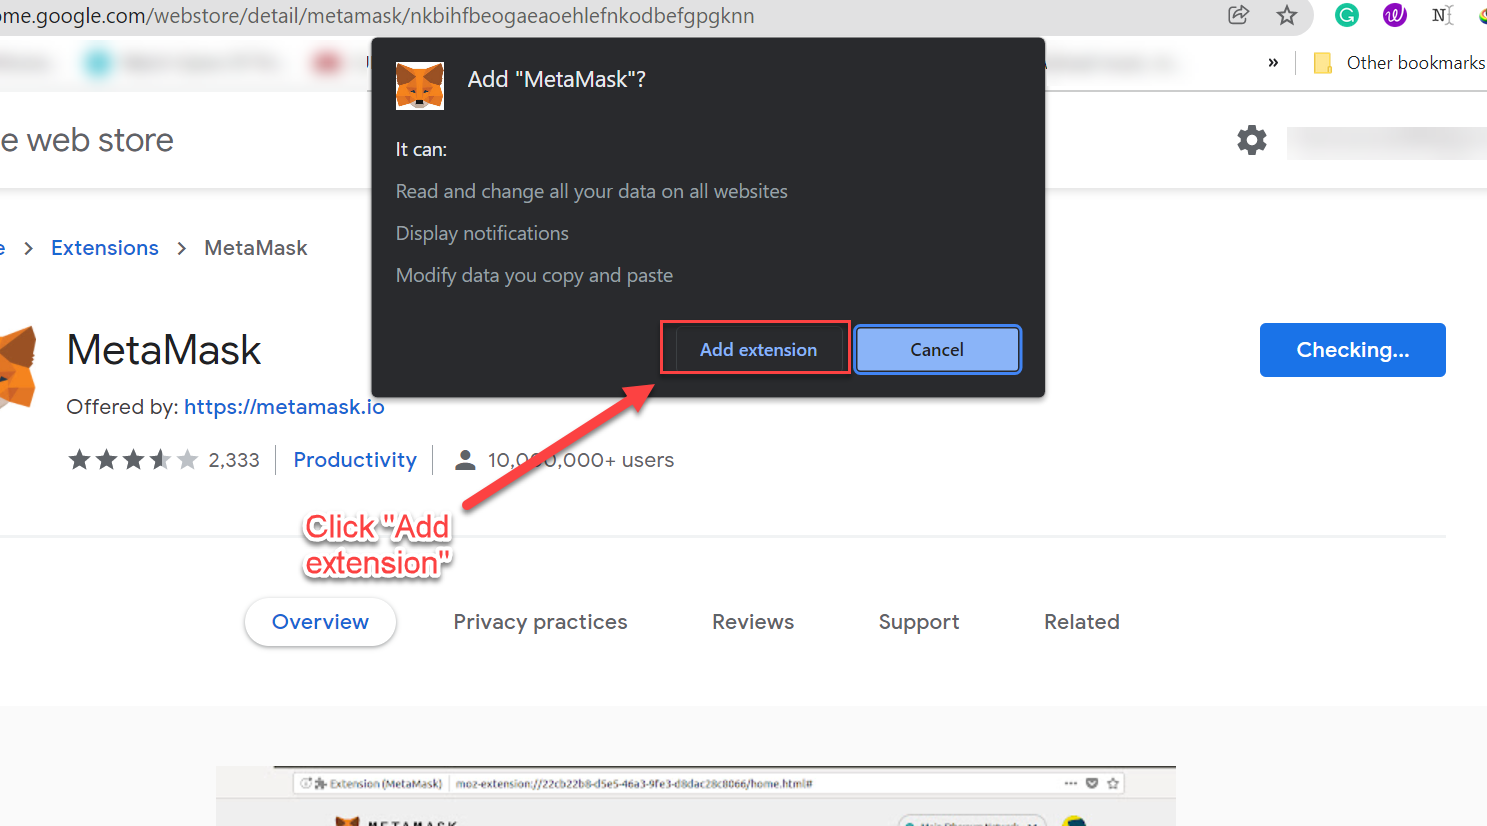
When you click the "Add extension" button, a drop box will appear. The extension will begin downloading, and after it has been downloaded, the extension will be installed in your browser.
2. Adding the MetaMask Extension:
Once you have the extension finished downloading, click the extension button in the right corner of your browser.

Upon completing this step, a dropdown menu will appear displaying all your current extensions. Locate the MetaMask extension and press the Pin icon to put it on your extensions bar.
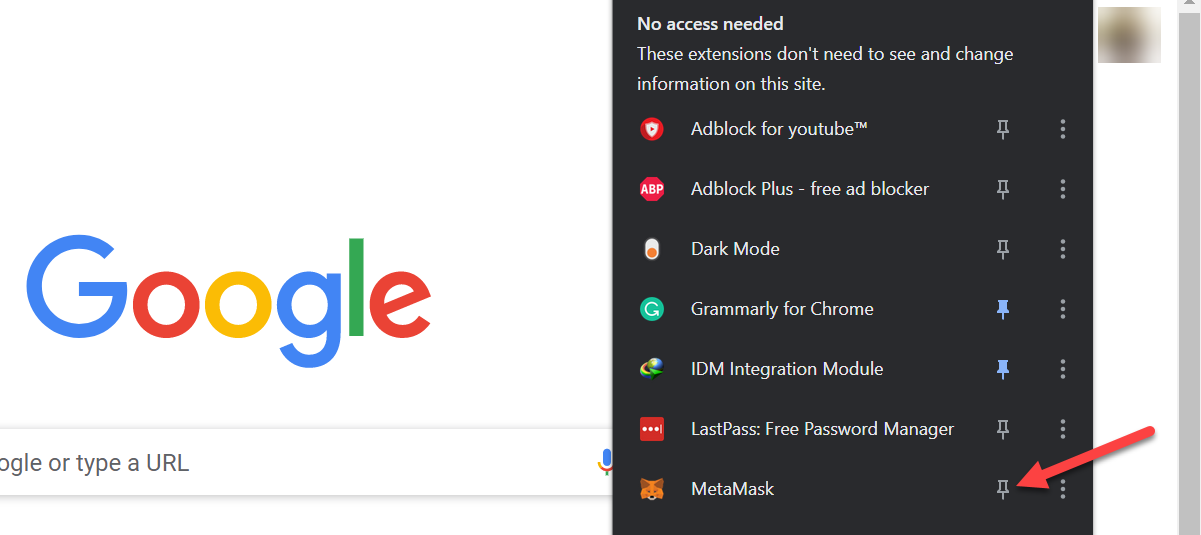
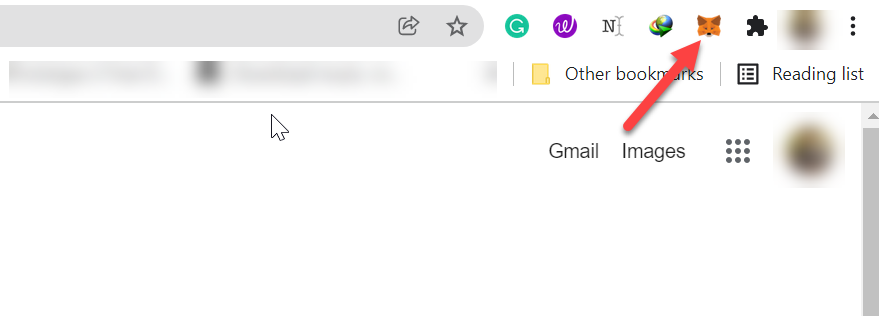
MetaMask is now visible in the extension bar.
3. Creating a New Account:
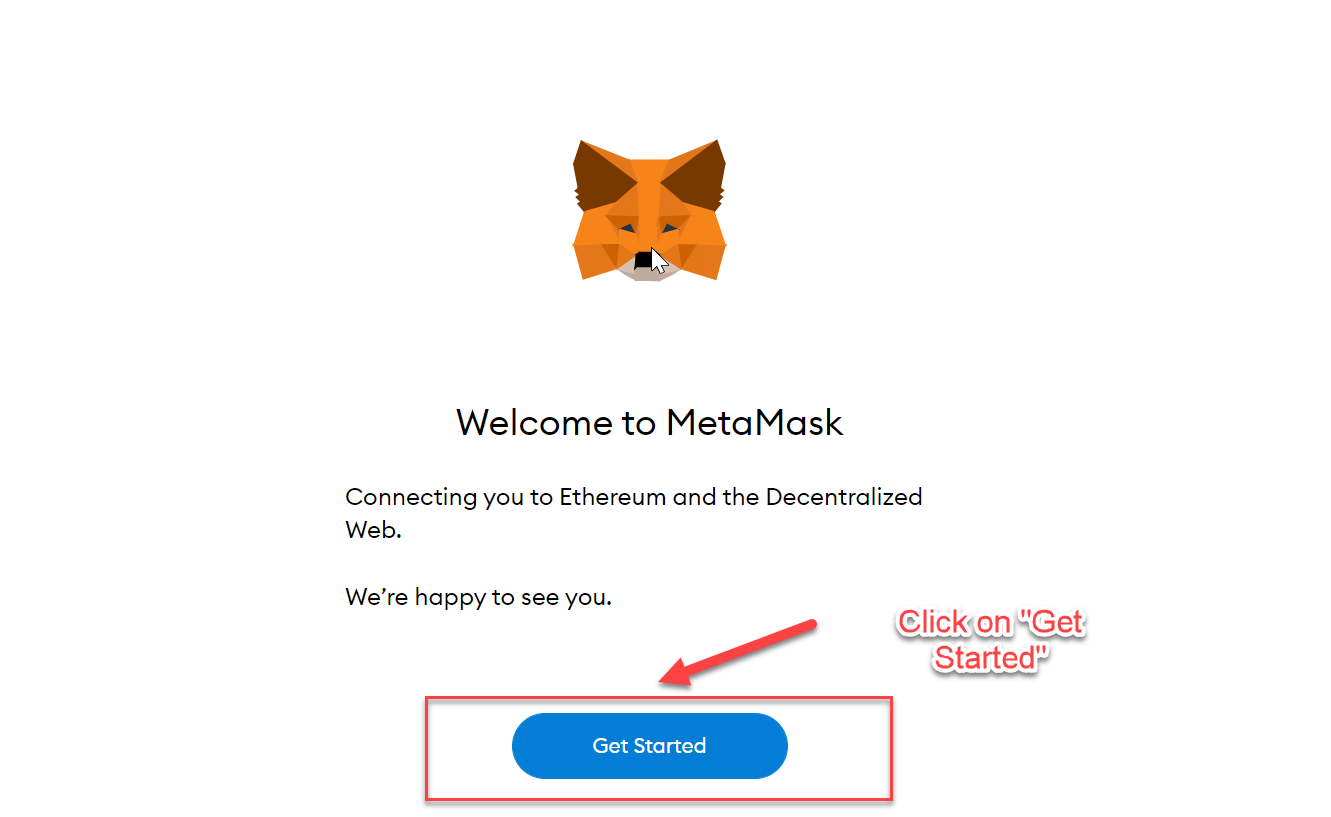
After the downloading has finished, you will be automatically redirected to a page to create your MetaMask wallet. To begin, click the "Get Started" button.
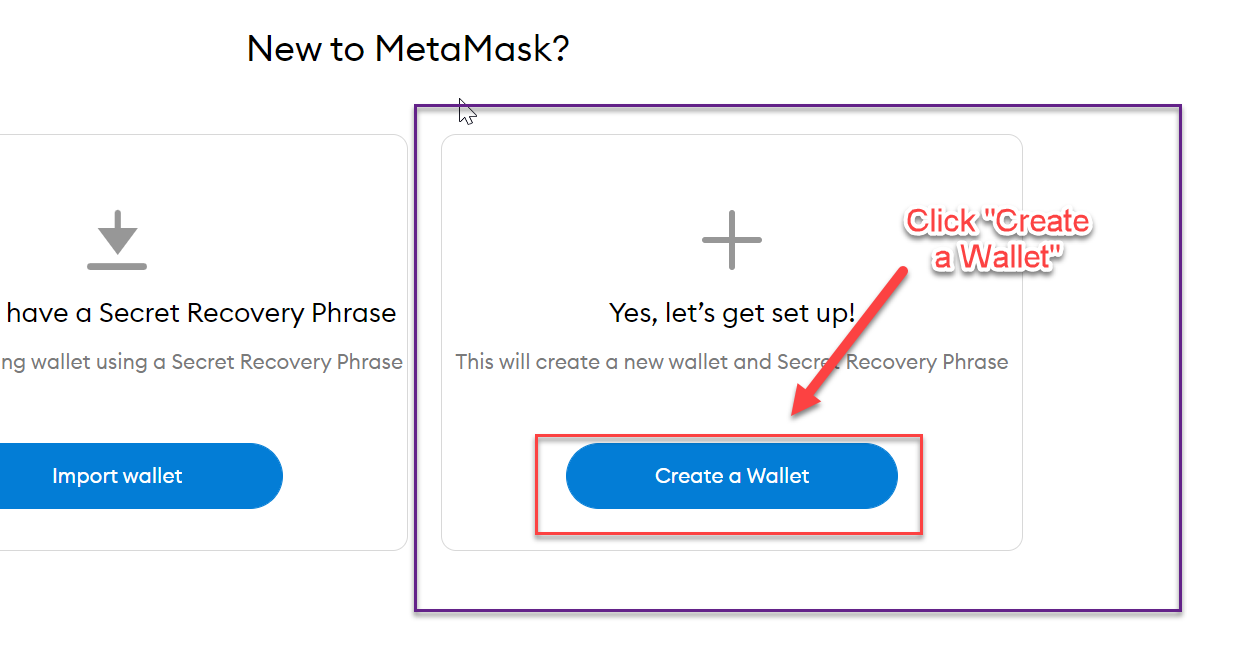
Once you click this, you will be directed to a new page where you will be asked, "New to MetaMask?".
Since we’re creating a new wallet, we will select "Yes, let's get set up!" and click on the "Create a Wallet" button.
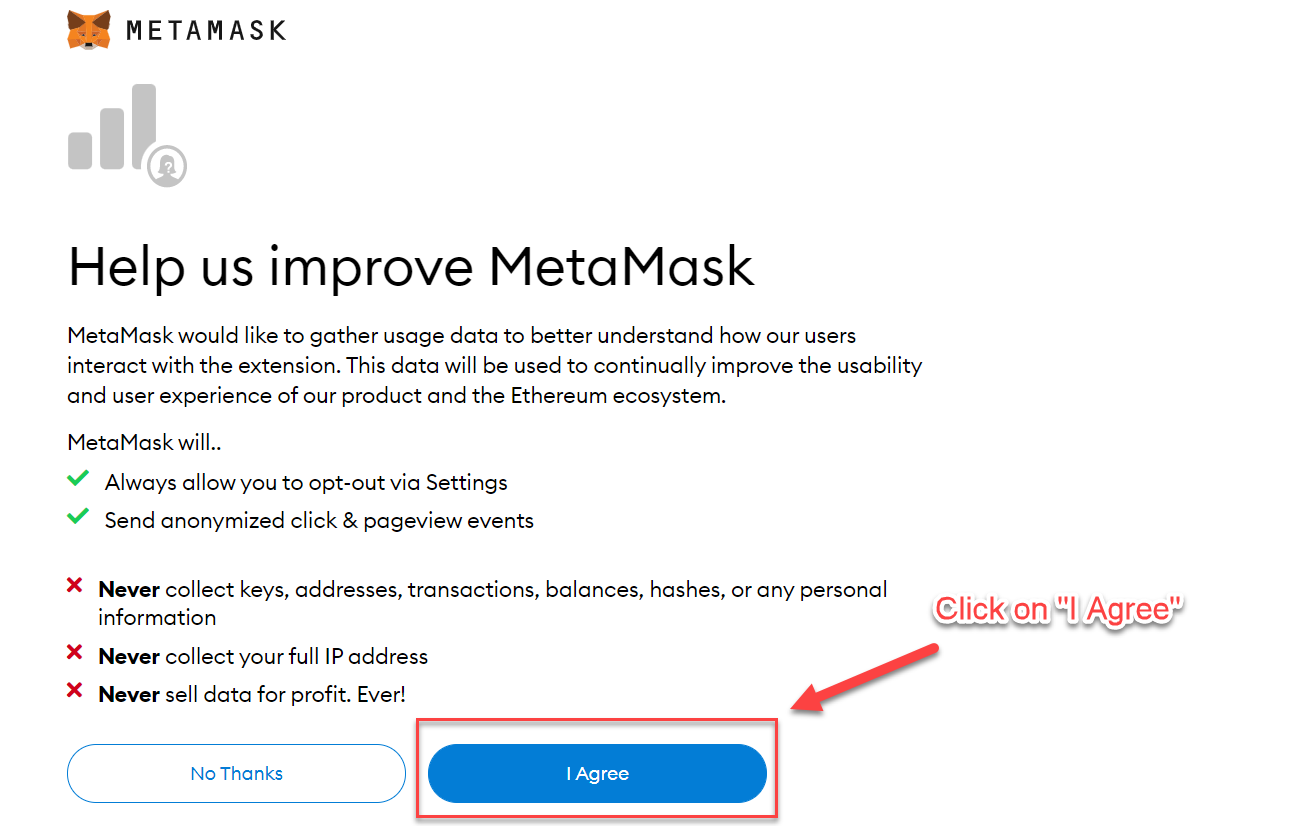
After that, it will take you to the page where it will tell you what the MetaMask will do and what it's not going to do. If you accept those terms, then click on the "I Agree" button.
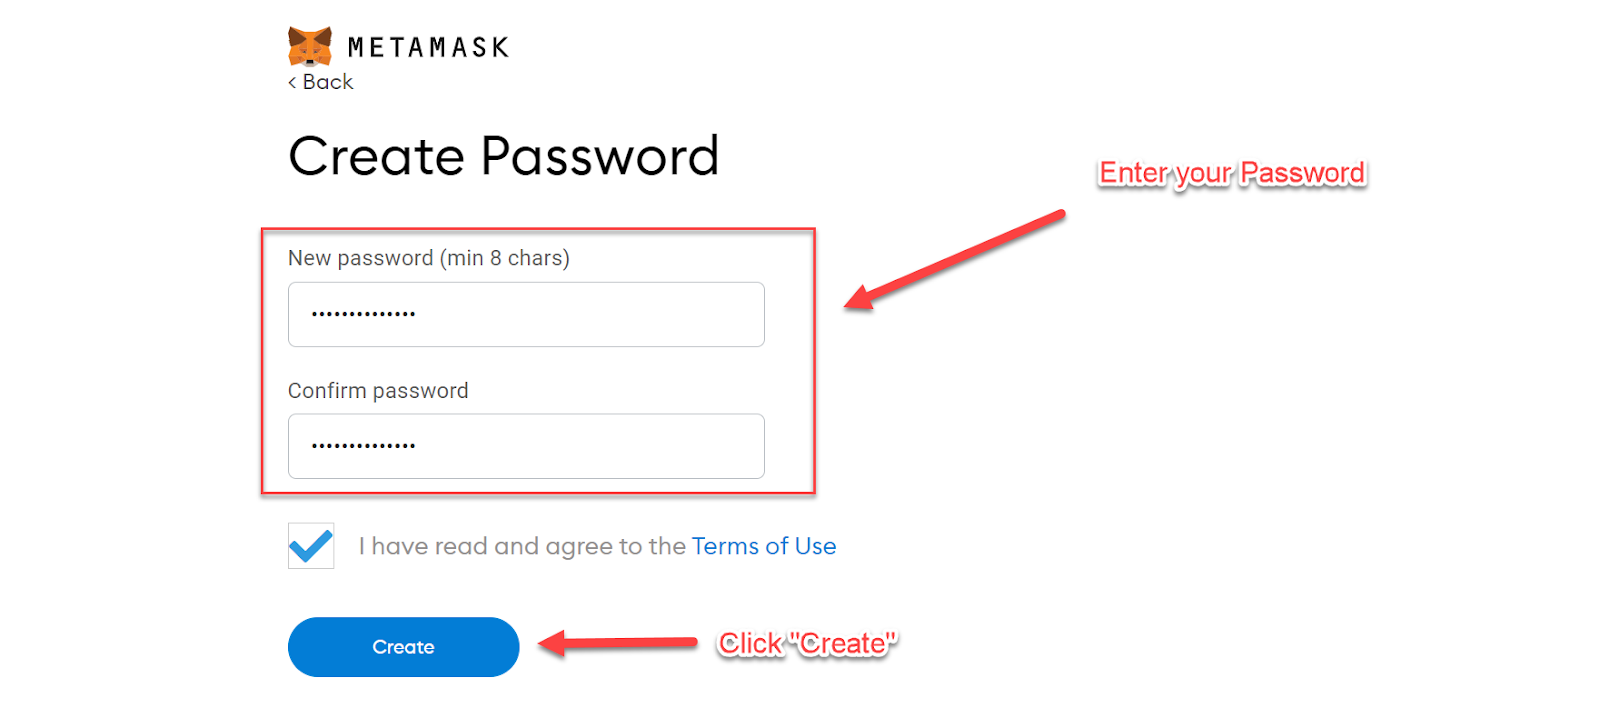
4. Creating a Password to Login:
Following that, you'll enter your password and confirm it. Then check the "Terms of use" box and click on the "Create" button. You will create your new password for the account.
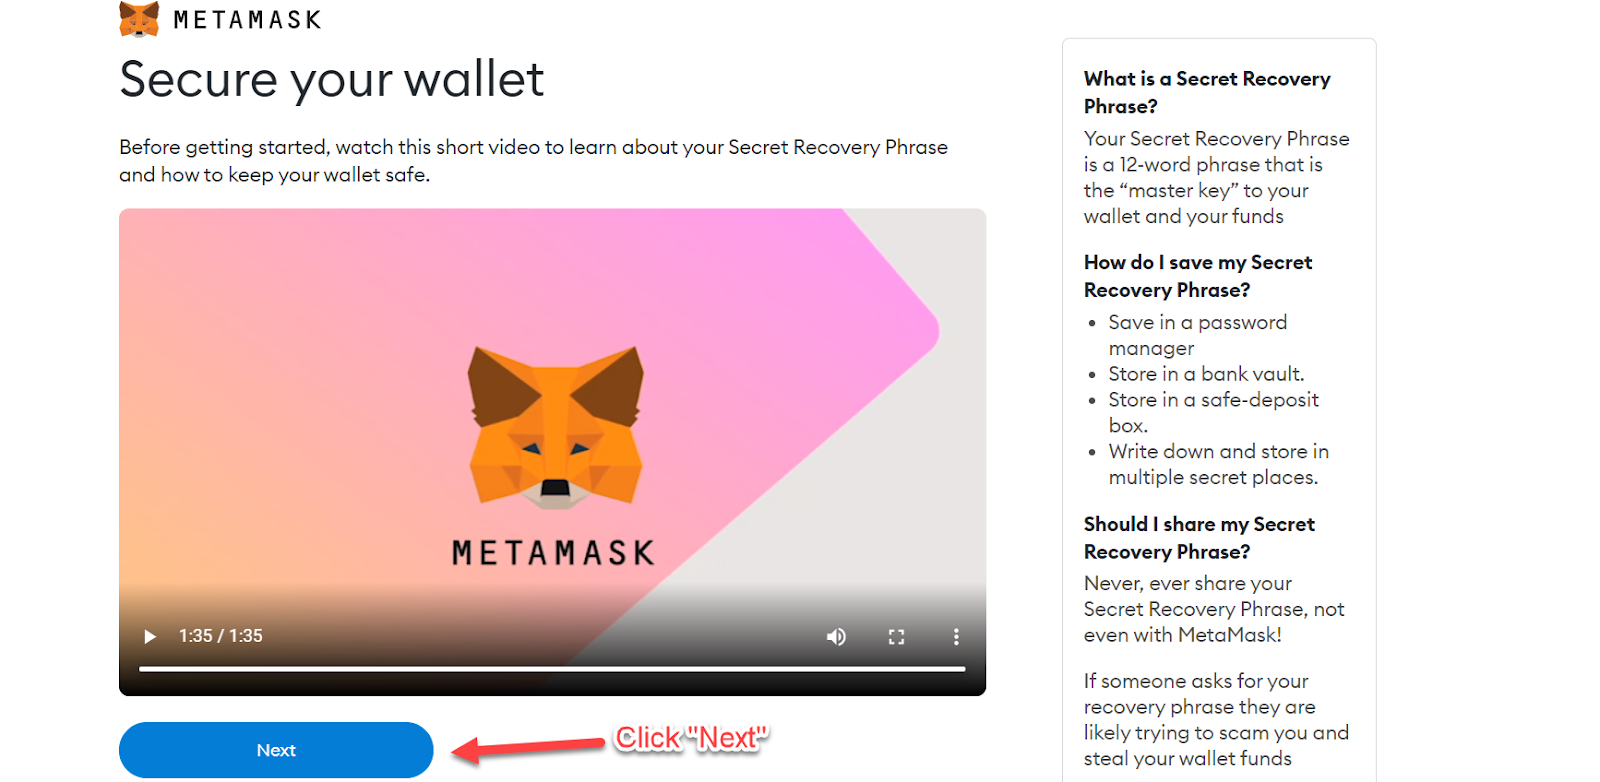
You will then be presented with a page containing all the information necessary to protect your account. First, watch the video to understand how MetaMask keeps your wallet safe. After watching the video, click on the "Next" button.
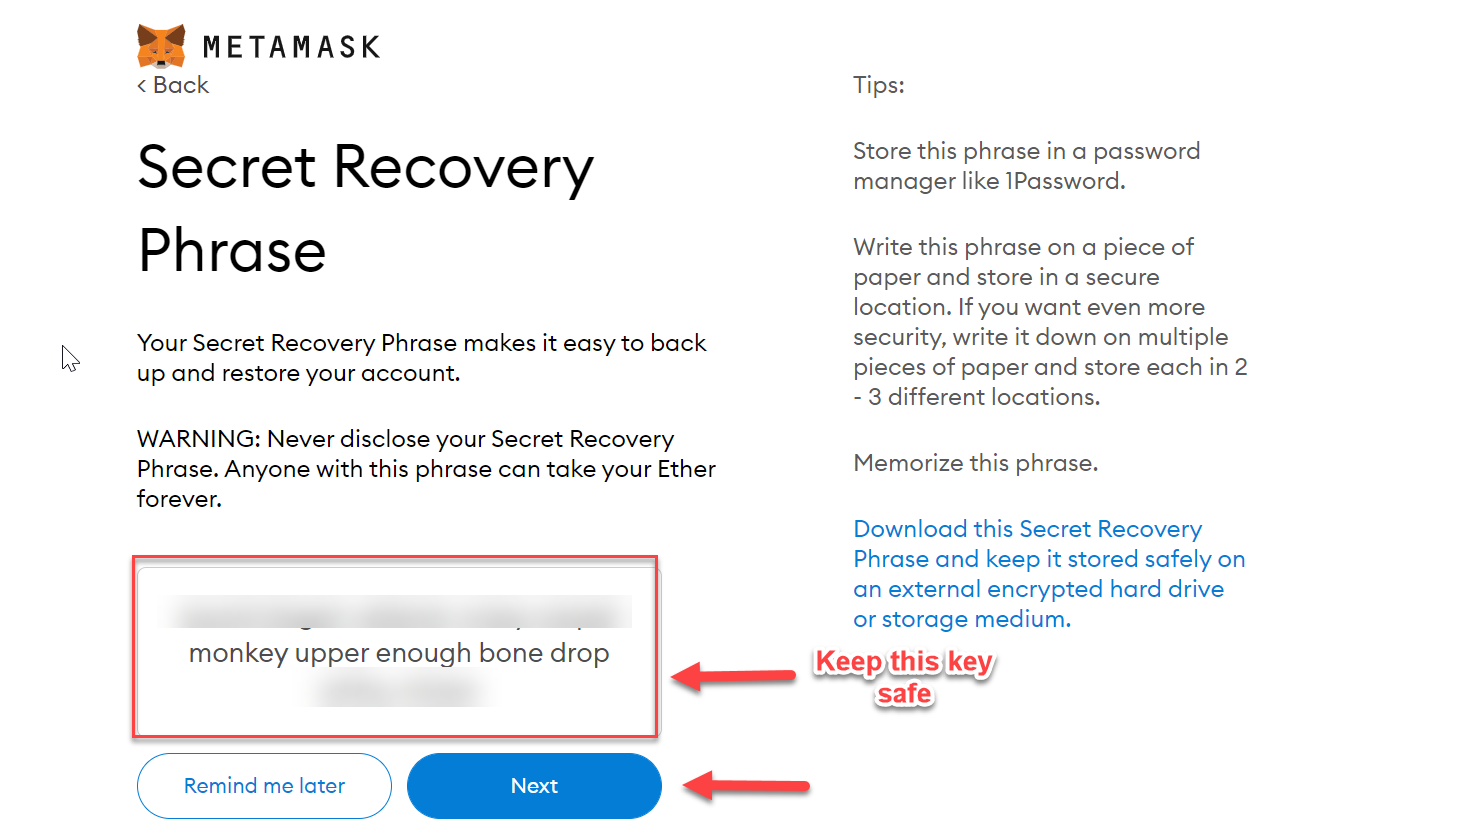
5. Receiving 12 word-phrase Recovery Key:
In the next step, you will receive your key, which you can use to retrieve your wallet. To view your key, click on the locked area so your 12 word-phase keys can become unlocked.
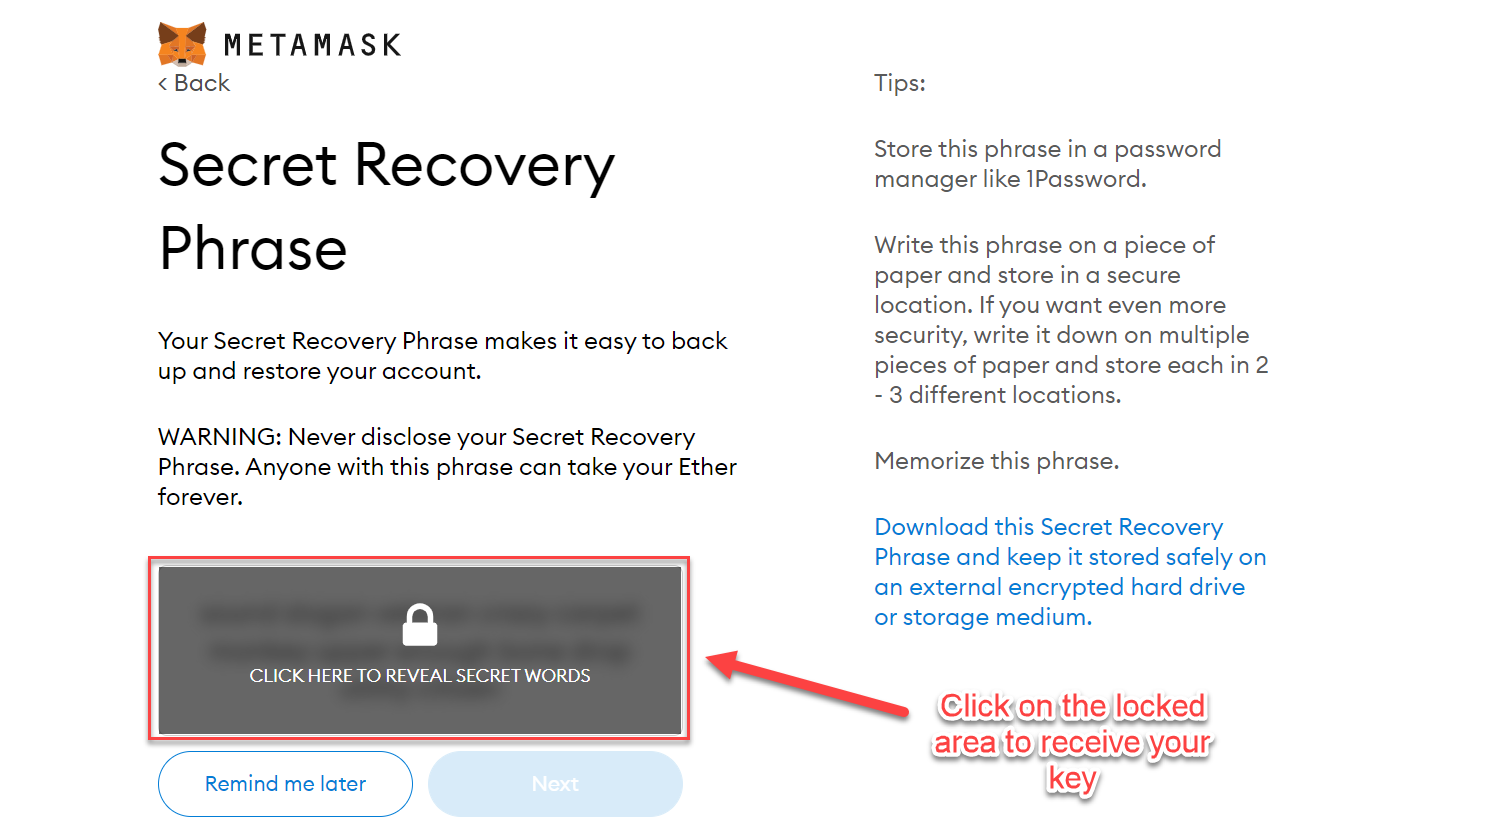
When you click on the area, your key will become visible. It would be best if you kept this key safe and never gave it to anyone else. After that, click the "Next" button.
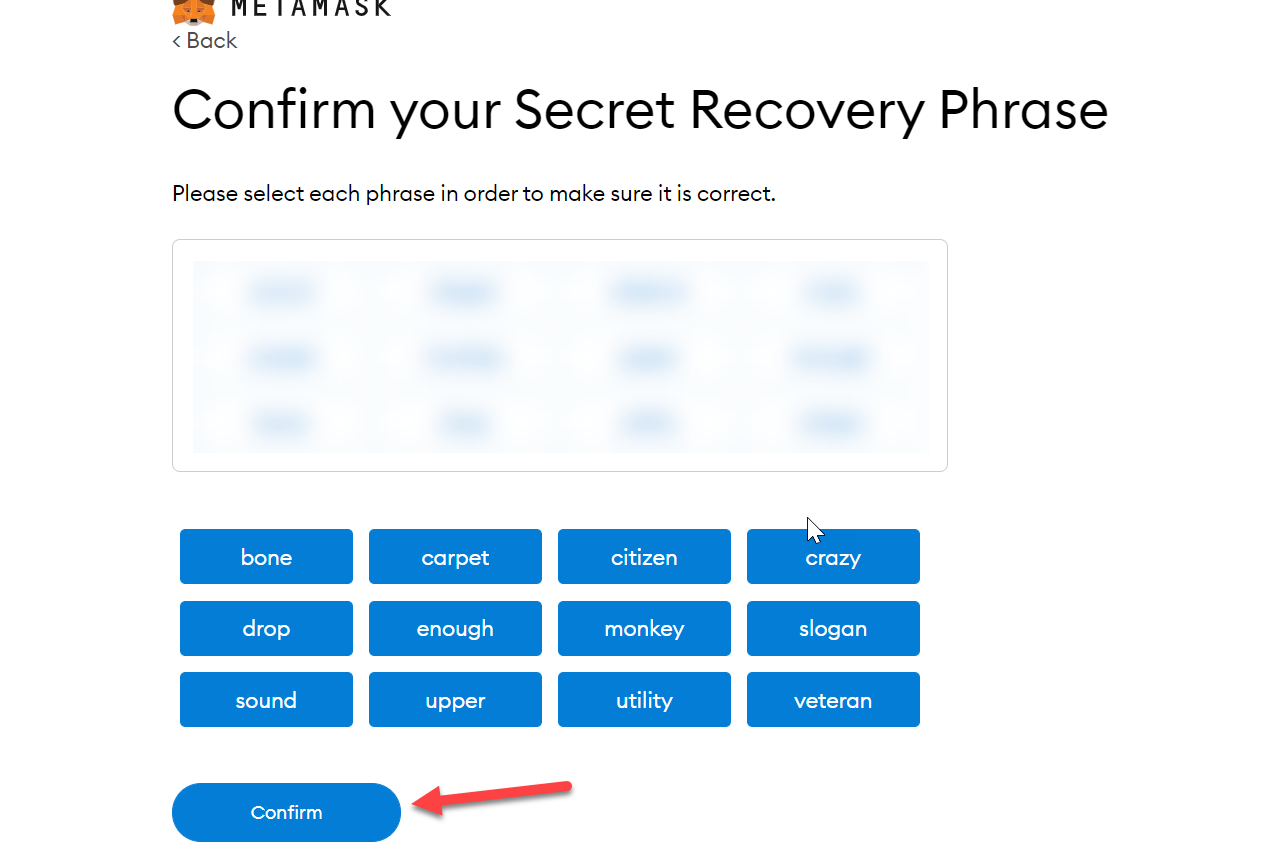
6. Entering the Recovery Key in Order:
When you go to the next page, you will see some space where you will have to select all the 12 phrases given to you in sequential order.
If there is even one phrase out of place, the key won't work. After entering the key correctly, you will click the "Confirm" button.
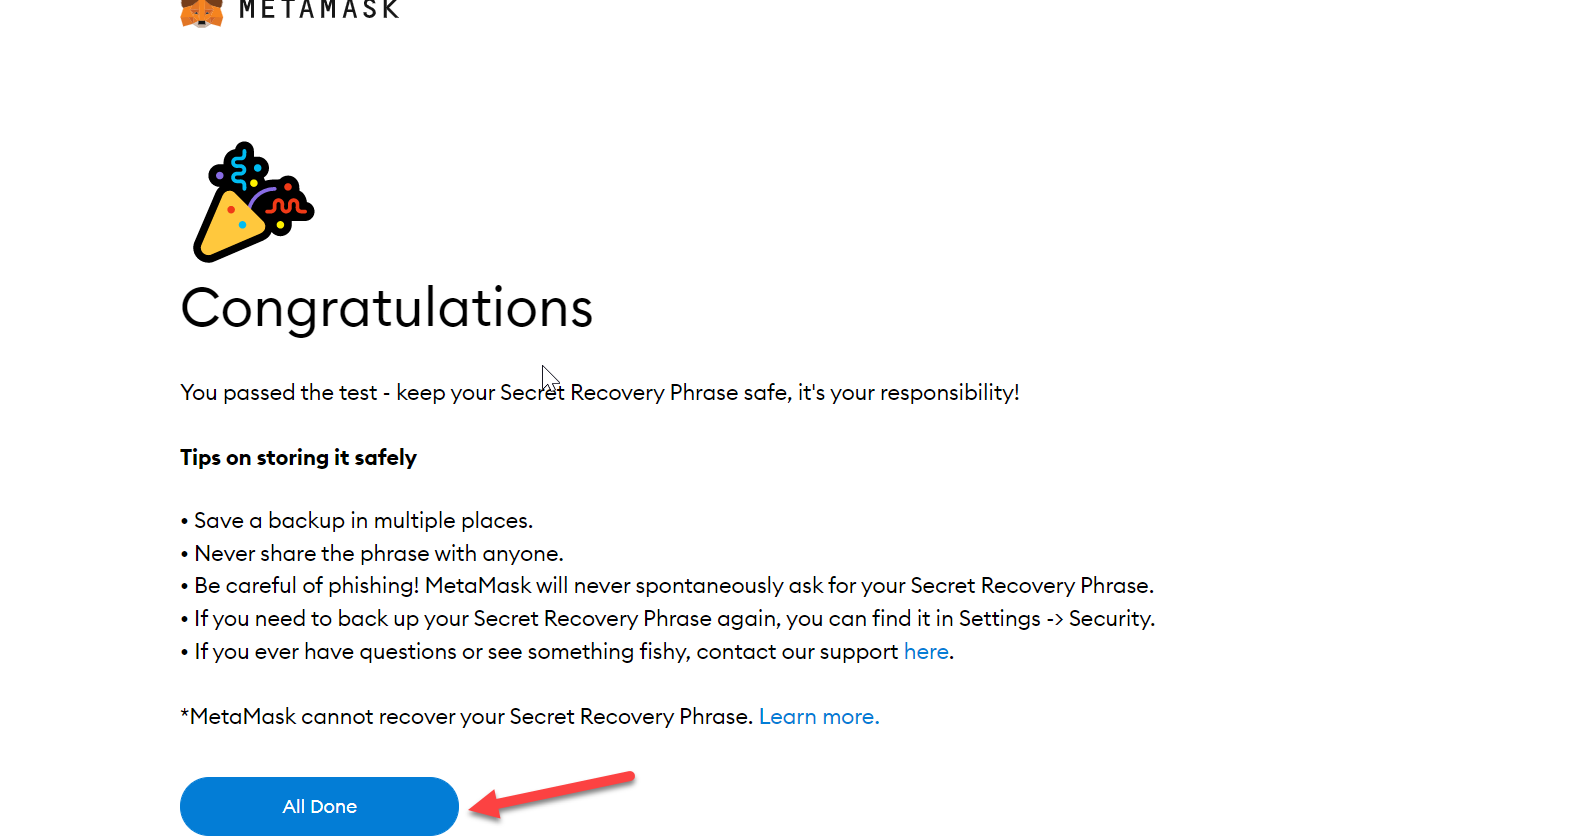
Upon entering the key correctly, the following page will appear:
Understanding the MetaMask User Interface
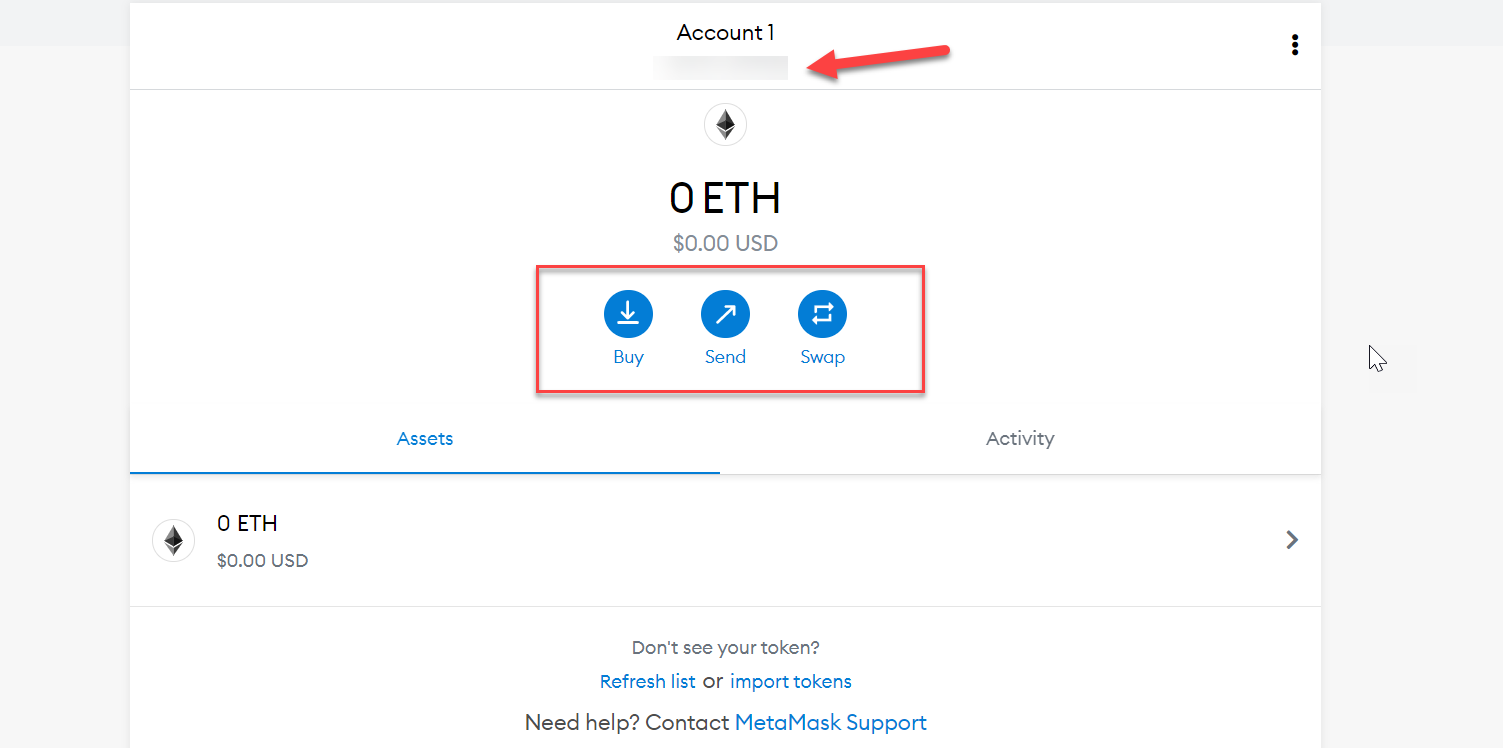
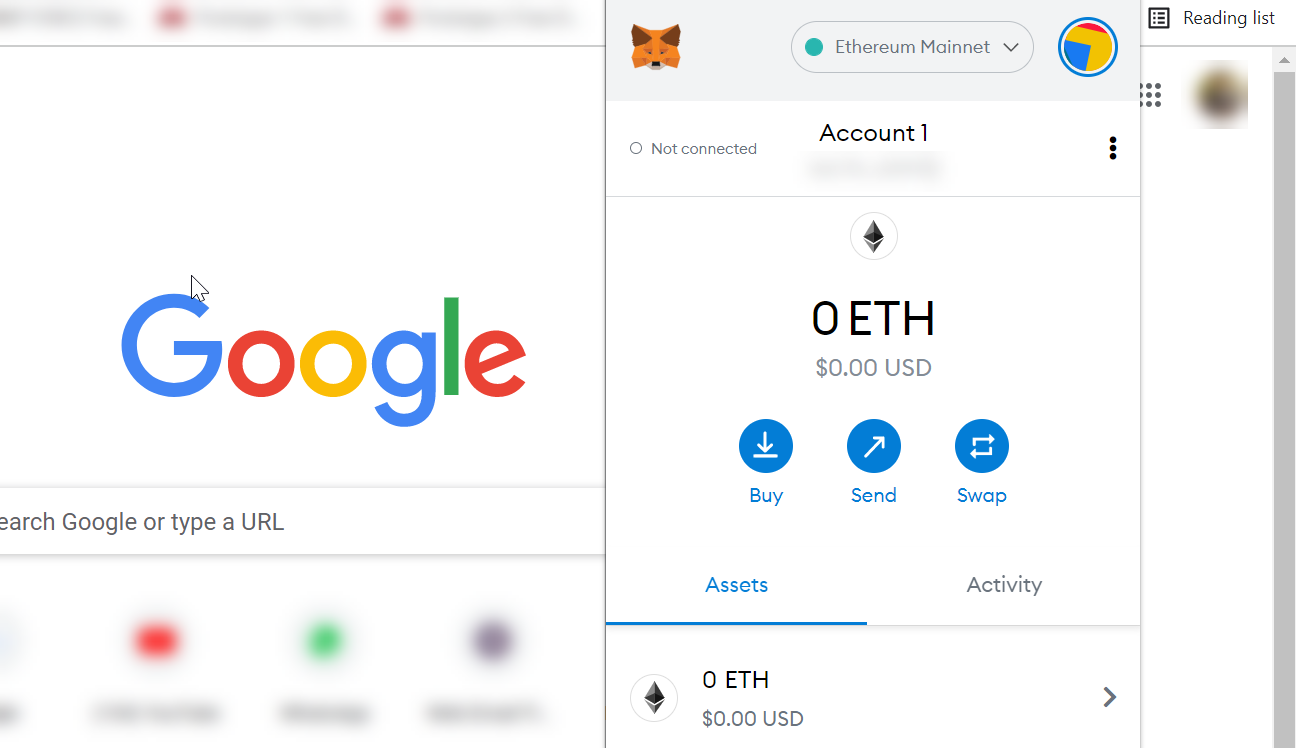
1. Account View:
It will direct you to your account once you have completed all the steps. Here you will be able to:
- Buy tokens.
- Send them.
- Swap them.
Additionally, all of your current tokens will be visible to you. Your account name and address will also be displayed at the top of the screen.
2. Login:
If you wish to return to your wallet, then all you need to do is click on the extension of MetaMask in the extension bar.
Once the drop-down box appears, you will need to enter the password you used when creating the wallet.
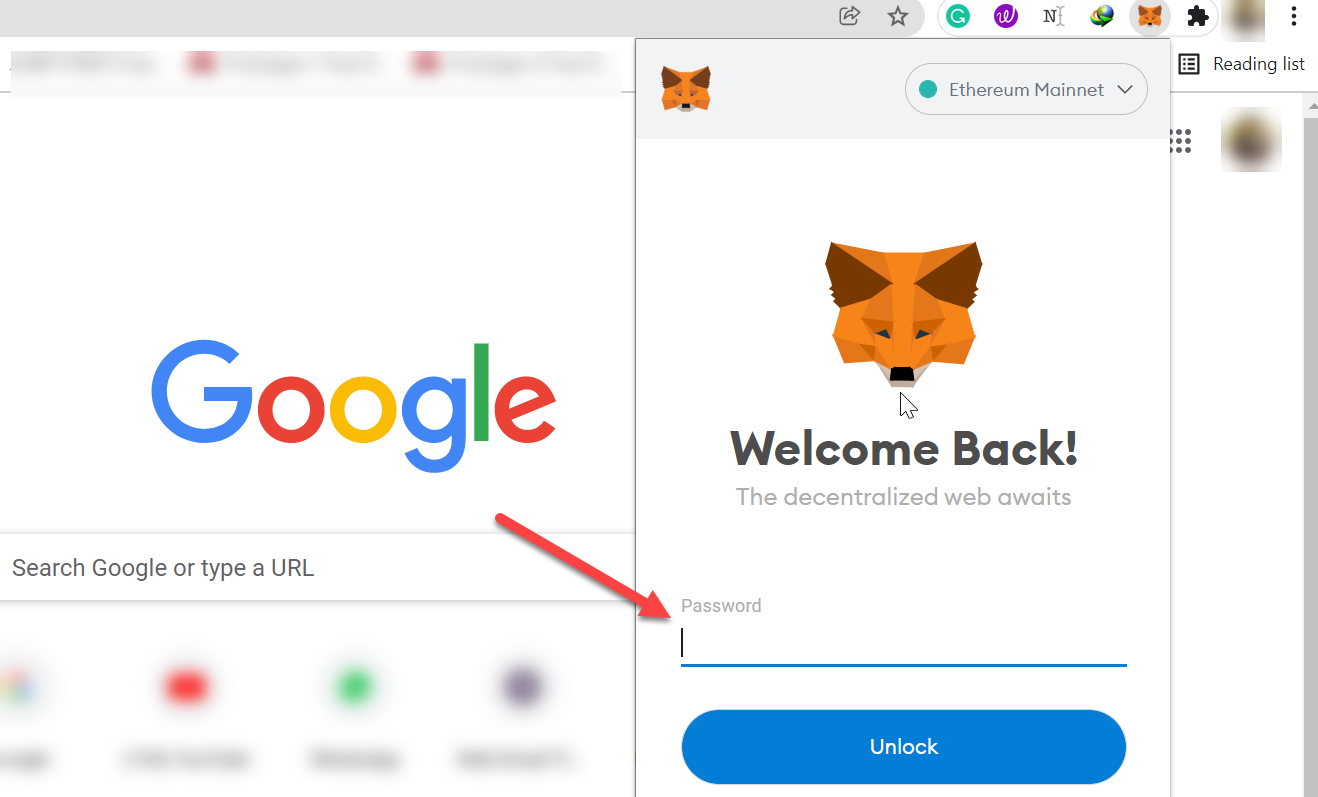
After you enter your password, you will login and see a view in the form of a drop-down box.
I hope this article was helpful to you in setting up your MetaMask wallet. 😊
