


Do you want to buy shitcoins or altcoins on the BSC Network? The process might seem complicated, but I’ll make it extremely easy for you to follow with screenshots.
In this blog, you’ll learn:
- Creating an account on an exchange to purchase BNB
- Setting up Trust Wallet and sending BNB to Trust Wallet
- Using PancakeSwap to purchase alt and shitcoins tokens
- Enable token in Trust Wallet
And much more.
Excited? Let’s get started.
Step 1 - Creating an Account on an Exchange
Creating an account on an exchange is the first step. Depending on your country's availability, not all exchanges operate in all countries. Find the exchange that operates in your region.
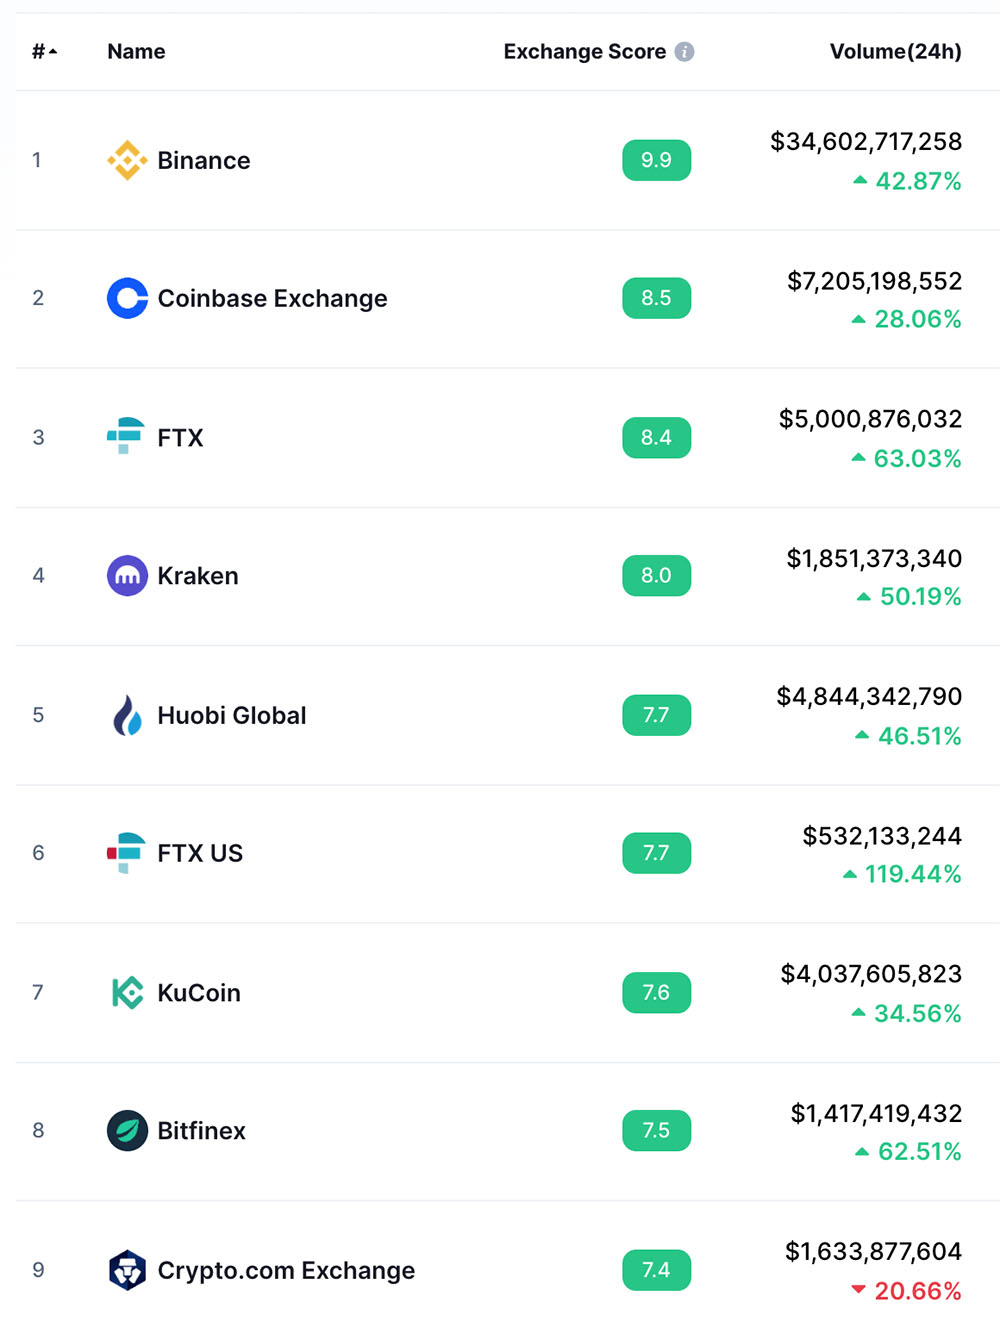
According to CoinMarketCap, the leading exchanges are Binance, Coinbase, and FTX.
Let me show you how to set up an account on a crypto exchange, both on mobile and desktop.
Creating an Exchange Account for Desktop Users
Making an account on any crypto exchange is pretty much the same thing. Let us take a look at how to create an account on Binance US. Visit the Binance register page to get started.
Please enter your email and password in order to create an account.

They will email you a verification link to your address.
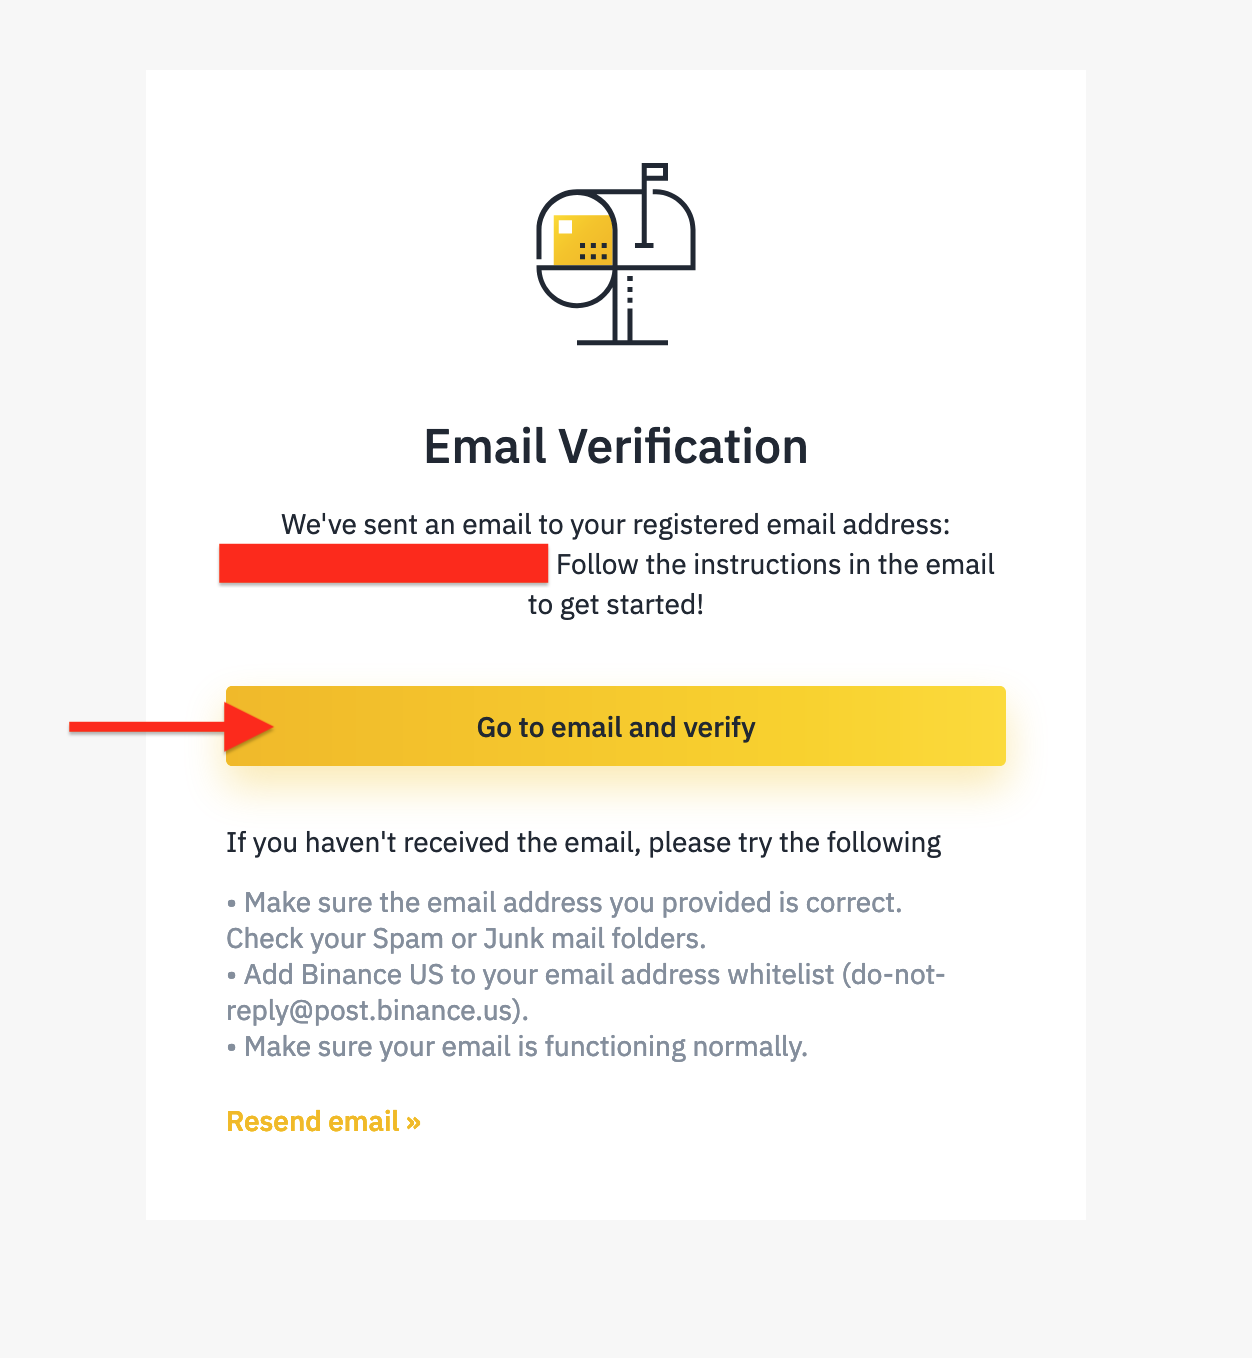
Go to your email and verify your address by clicking the link!

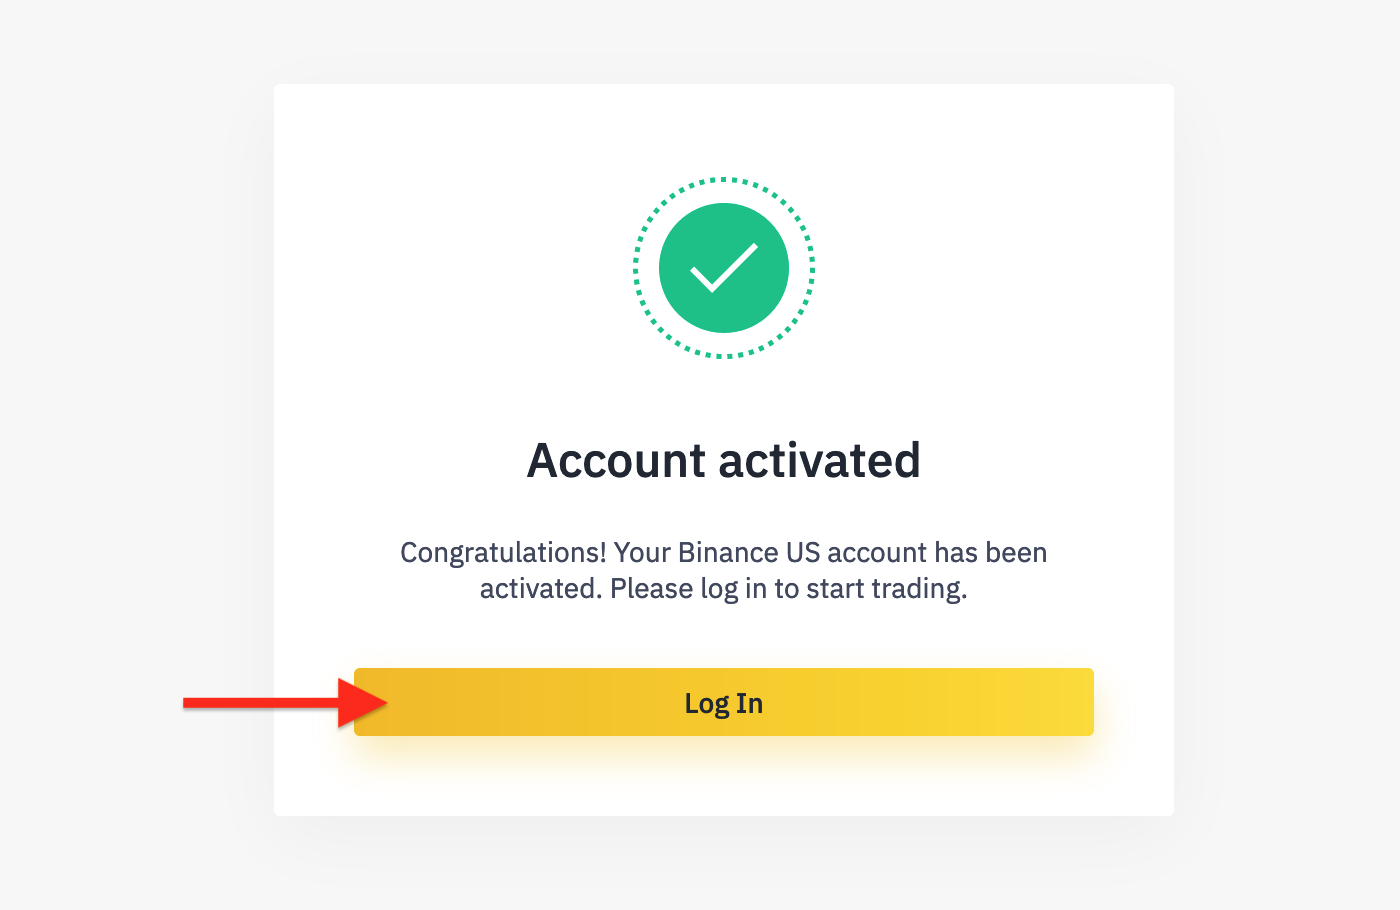
You’ve successfully activated your account! Let’s log in and start the verification process.
Following the creation of your account, you must verify your identity. The KYC (Know Your Customer) process is a vital component of any exchange that enables customers to fully utilize the exchange’s features.
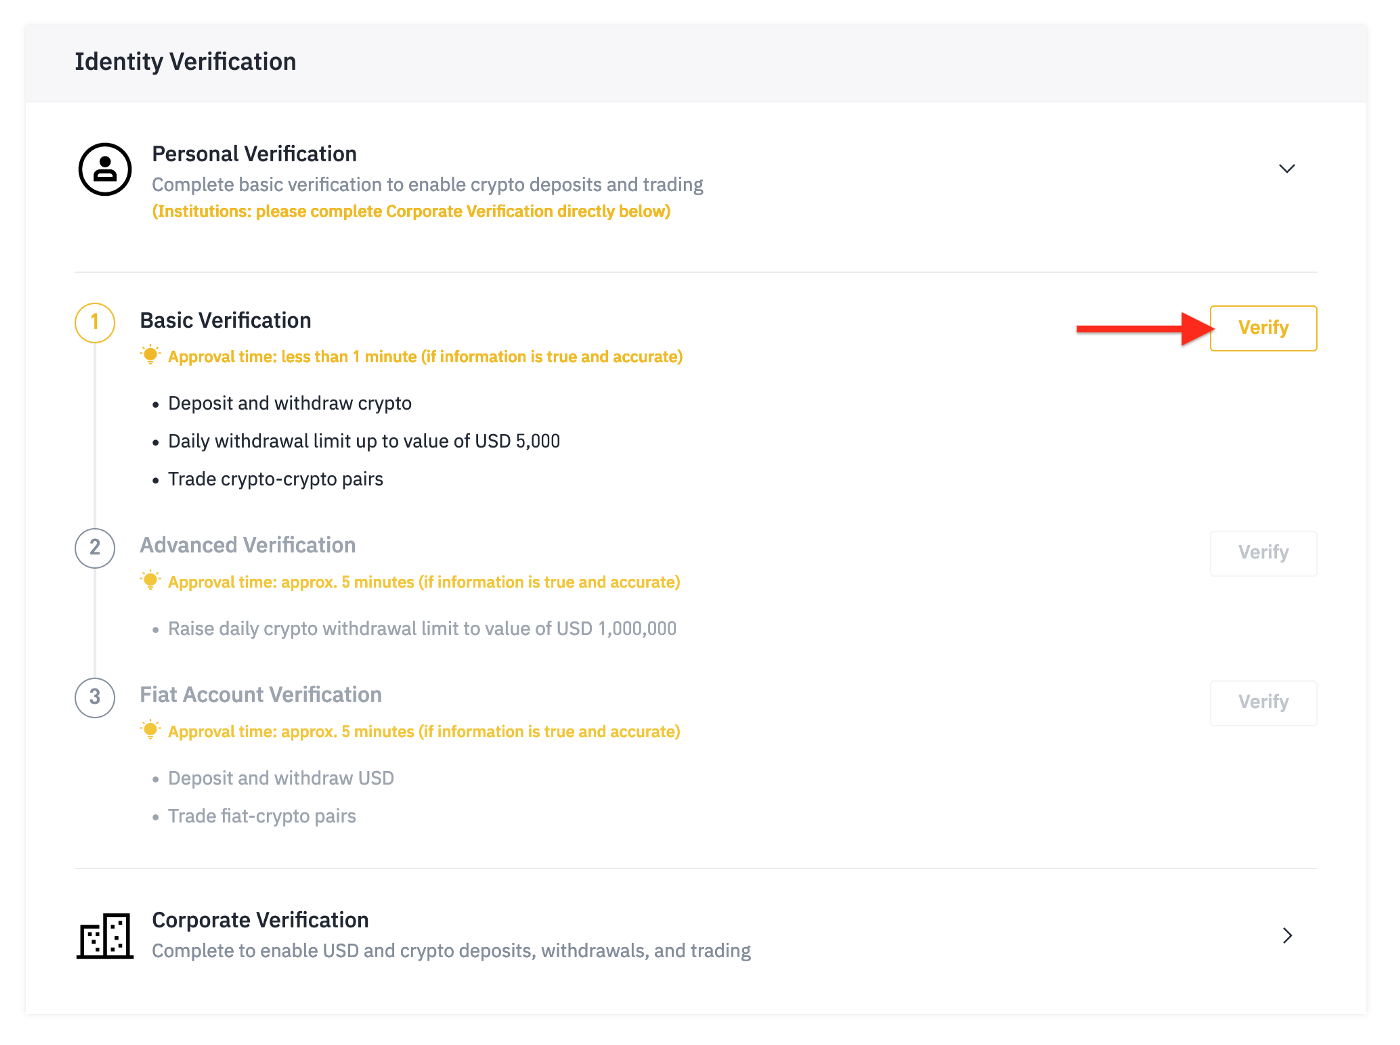
After your account has been verified, which could take up to 24 hours, you are ready to purchase your BNB.
Perhaps you are contemplating how to add a balance to the exchange. That is a relatively straightforward task, and Binance allows you to purchase cryptocurrency using credit cards, debit cards, or a wire transfer.
This tutorial will explain how to purchase using a credit card. Binance accepts a variety of currencies for deposits like USD, GBP, or AED.
You must enter your credit card information after clicking "Continue".

As soon as you have completed the process, you will see a success message.
Creating an Exchange Account for Mobile Users
If you are an IOS or Android user, you can download Binance from your respective App Store or Google Play Store.
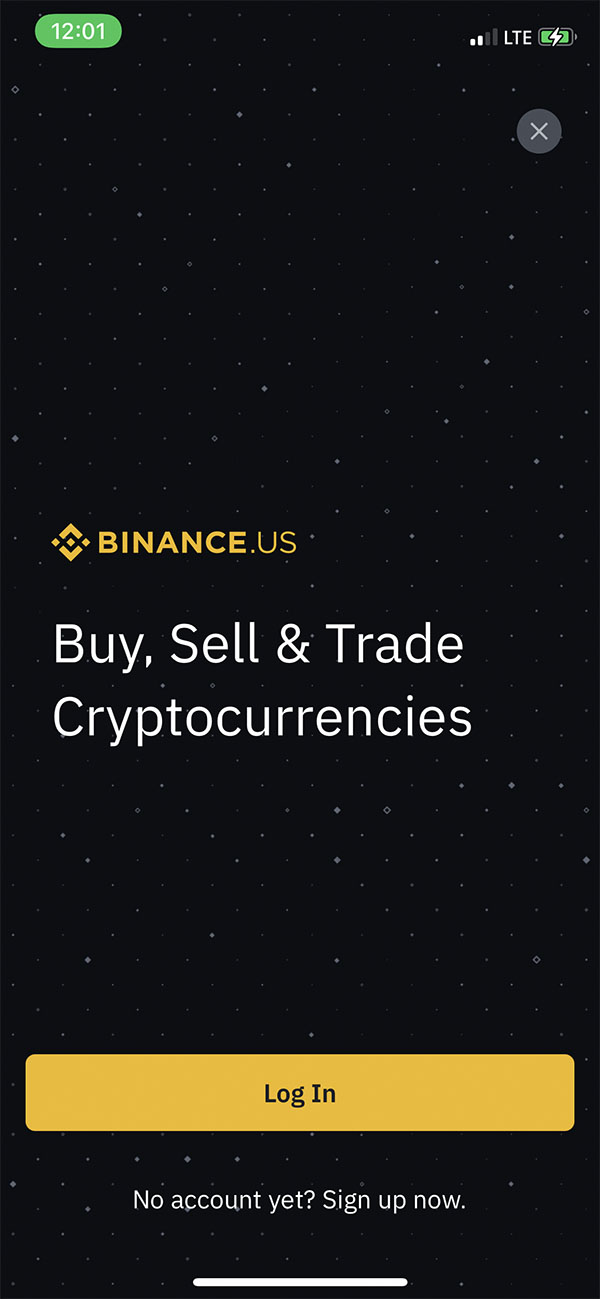
When you're done installing, tap "Sign up now."

Enter your email and password in order to create an account.
Once you've created an account, sign in. You will see something similar to the image above once the app is launched.
On Binance, BNB can be deposited in two different ways:
- Crypto — from Defi or centralized exchanges
- Cash — credit cards, debit cards and bank transfer
If you choose Crypto, you can deposit BNB from other exchanges or DeFi applications like Metamask or Trust Wallet.
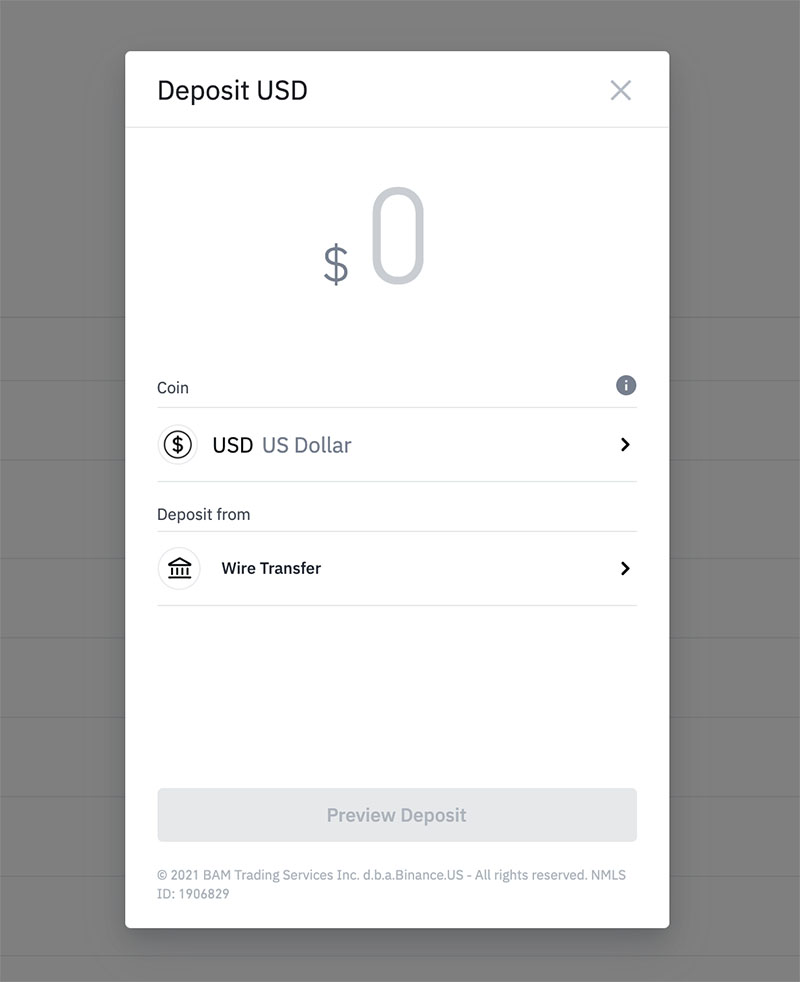
If you wish to purchase using real currency such as USD, GBP, or AED, you may select the Cash option. In my case, I chose USD.

Depending on your country of residence, you may be able to deposit funds using a bank account or a credit card.
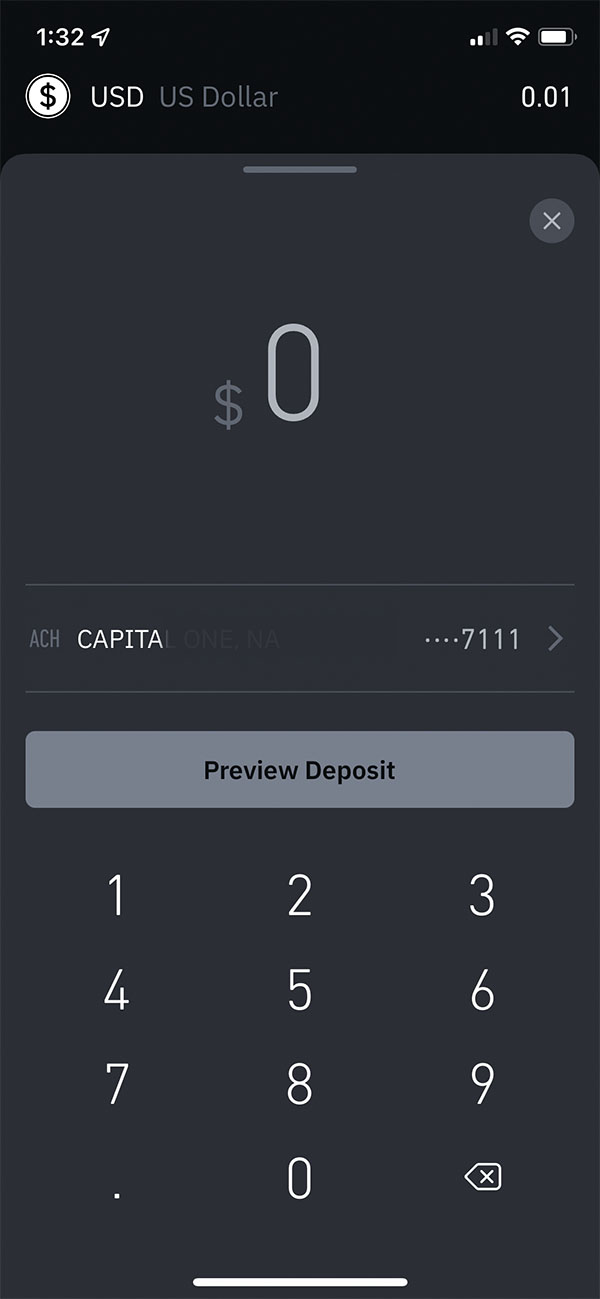
After clicking Continue, type any amount you wish and press "preview deposit."
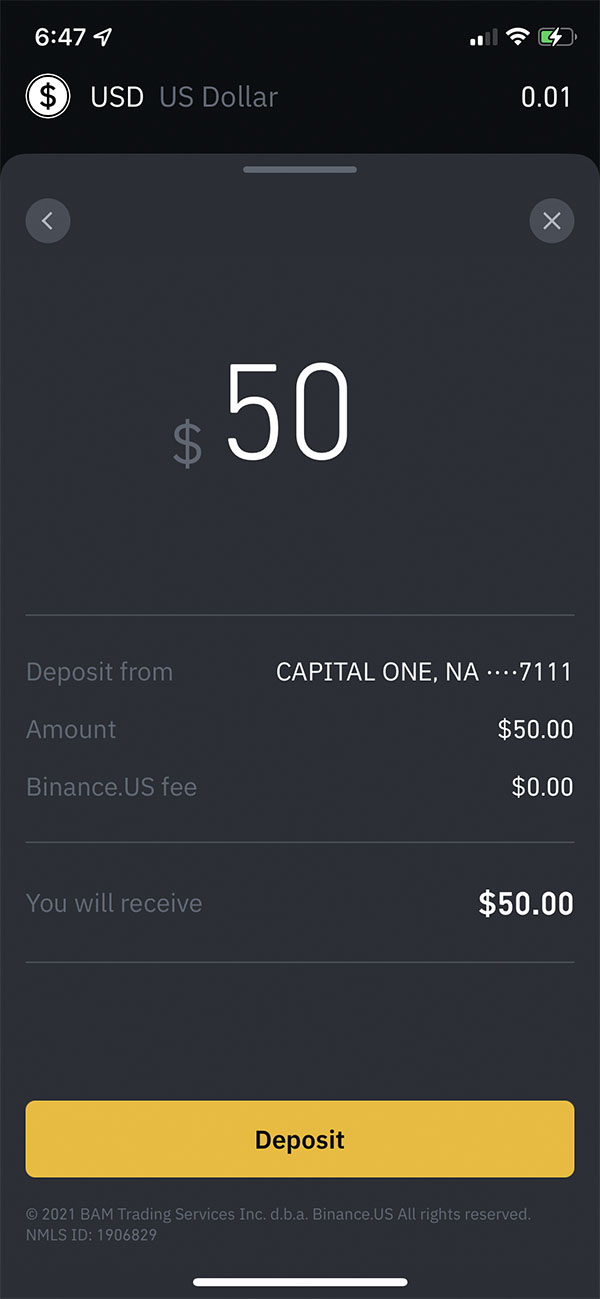
Next, review the deposit amount to confirm that it's correct and press the "deposit" button
Success!
Note: It should be noted that if credit card or debit card payments are not accepted in your country, you should use peer-to-peer trading. With peer-to-peer (P2P), you can transfer people from your country using the same payment method in your homeland.
Important: "Binance.US offers convenience to our users by pre-crediting your account when an ACH or Debit Card deposit is created. We will then charge the connected payment method within 2-7 business days from the original date of the transaction.
Please note, you will not be able to withdraw the USD equivalent of this deposit (including the equivalent sum in crypto) for 10 days after initiating an ACH deposit, and 5 days after initiating a Debit Card deposit. The hold can be easily calculated by subtracting the total USD value of your deposits on hold from your account's total USD value at any given time." (source: click here)
Step 2 - Creating a Trust Wallet Account
Trust Wallet is a cryptocurrency wallet that Binance developed. It supports Bitcoin, Ethereum, BEP20, and all ERC20 tokens on the market.
You can install it from the Google Play Store or iOS App Store. You must always install the original app since hackers are creating pseudo apps to steal people’s money.
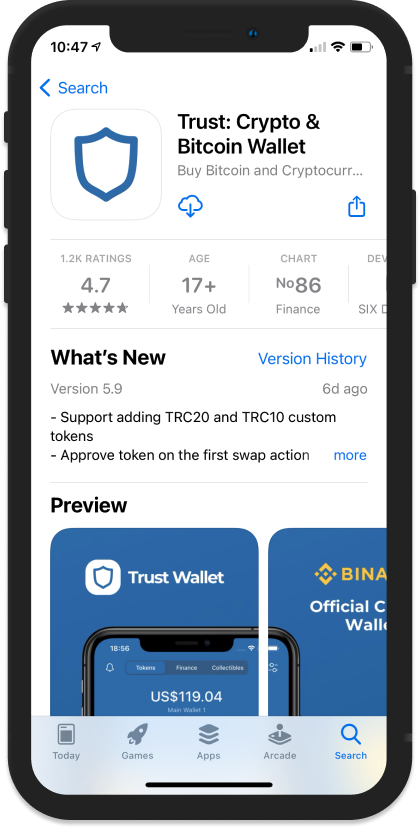
Just go to your device’s app store and search for “Trust: Crypto & Bitcoin Wallet”. After that, you will simply click either install (If you are using an Android) or Get (if you are using an iPhone).
Trust Wallet offers multiple options:
- Send tokens.
- Receive tokens.
- Buy new coins.
- Trade your coins.
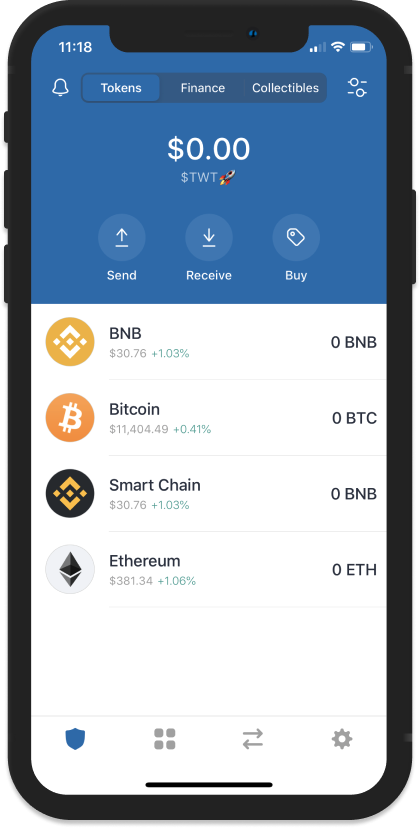
All the tokens that you currently possess will appear on one side of the screen. Since the wallet is new, you will have no balance.
Step 3 - Sending BNB to Trust Wallet
The Binance BNB which we will acquire from Binance US will be sent to the Trust Wallet.
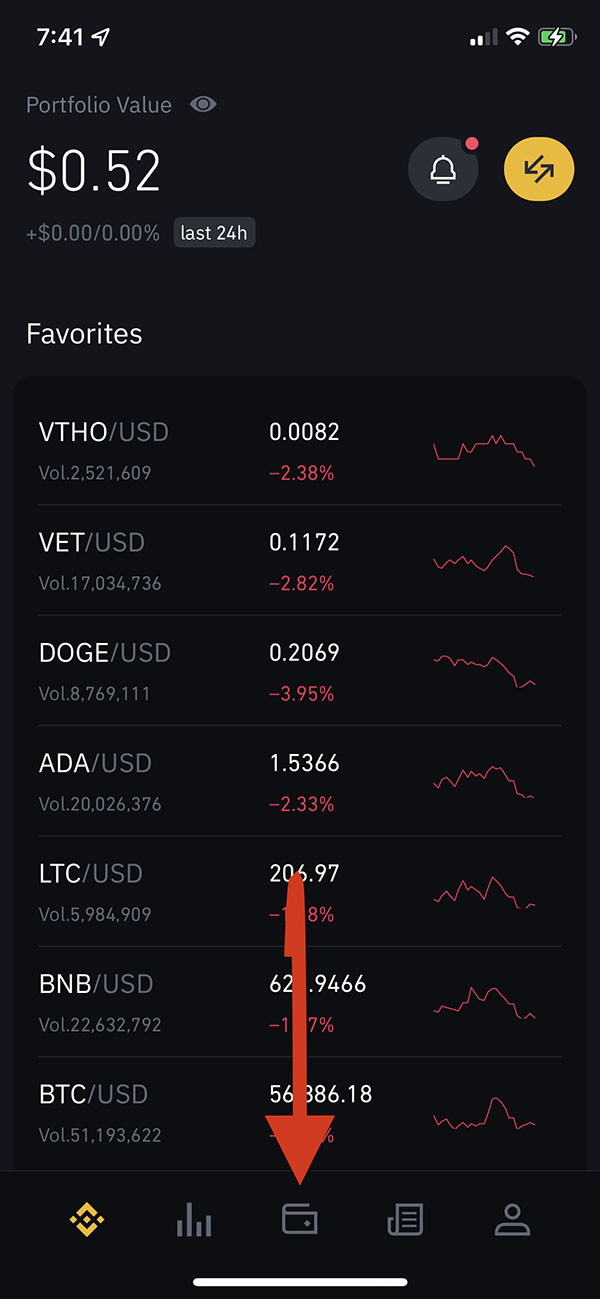
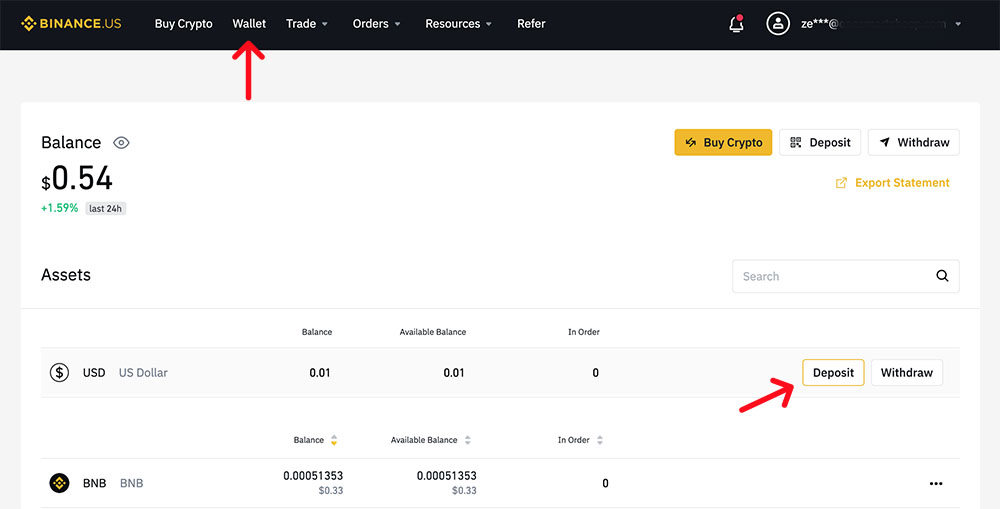
In order to execute the trade, simply sign in to your Binance US account. Locate the Wallet icon at the bottom of the screen.
Once this is complete, you will be directed to a section from which you may deposit, withdrawal, or transfer funds. Since we intend to send the BNB to the trust wallet, we must first withdrawal it to our Trust Wallet address.
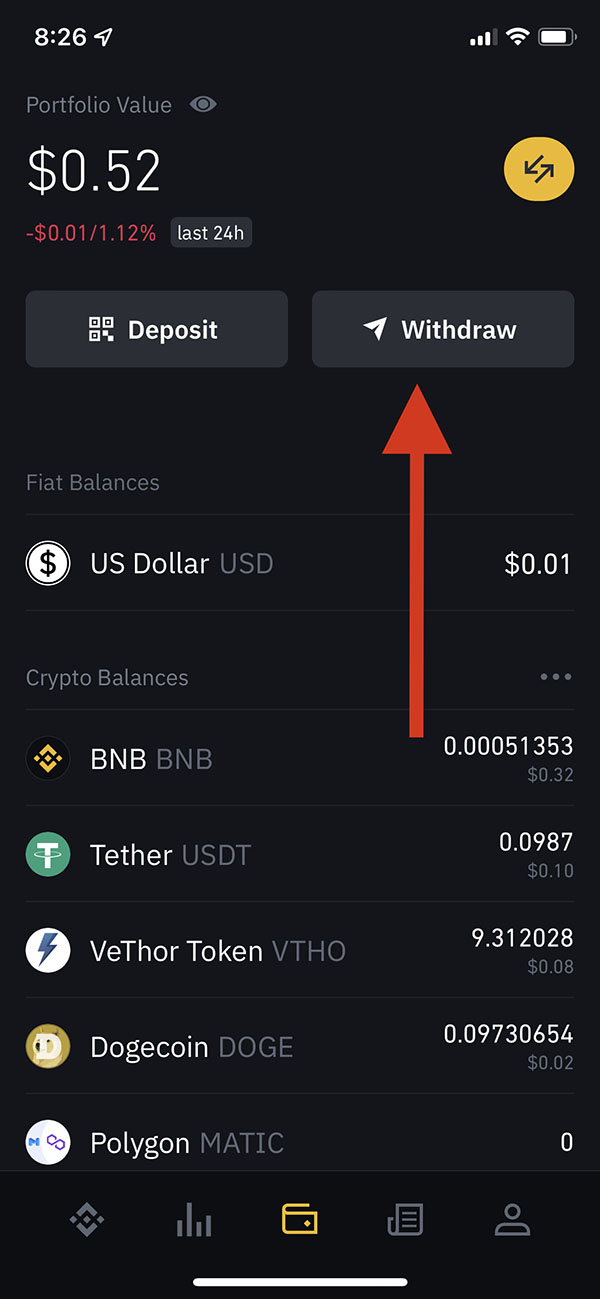
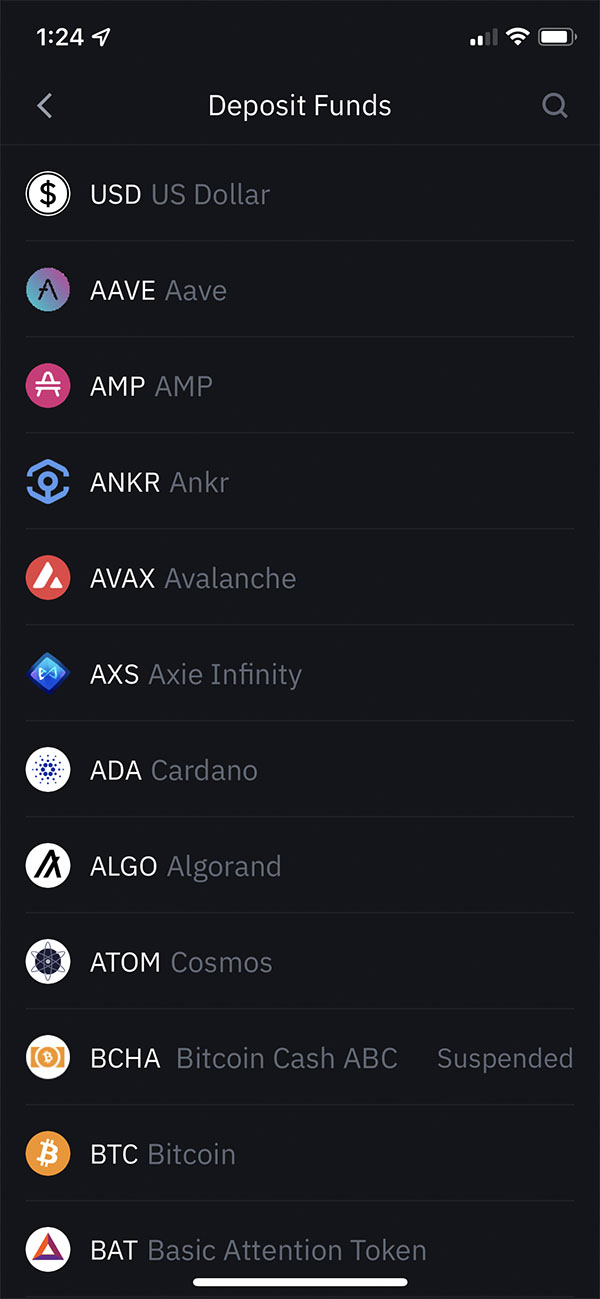
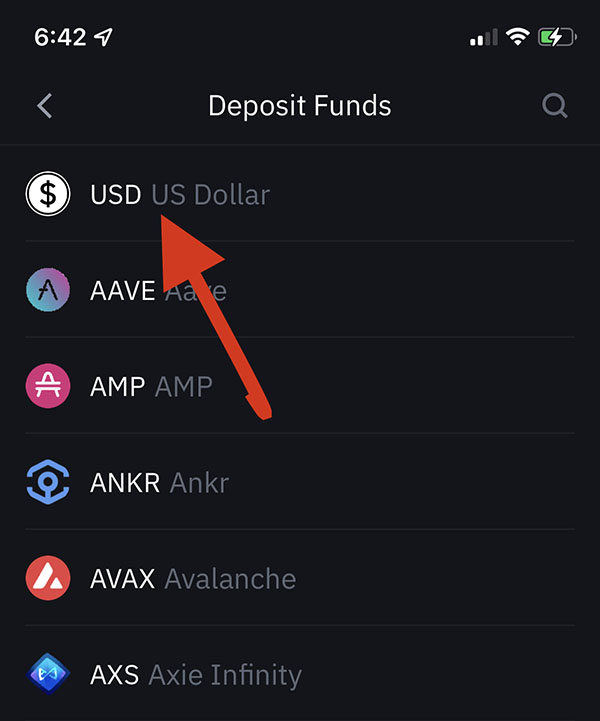
By clicking on the “Withdraw” button, a new page will appear. Please select "BNB."

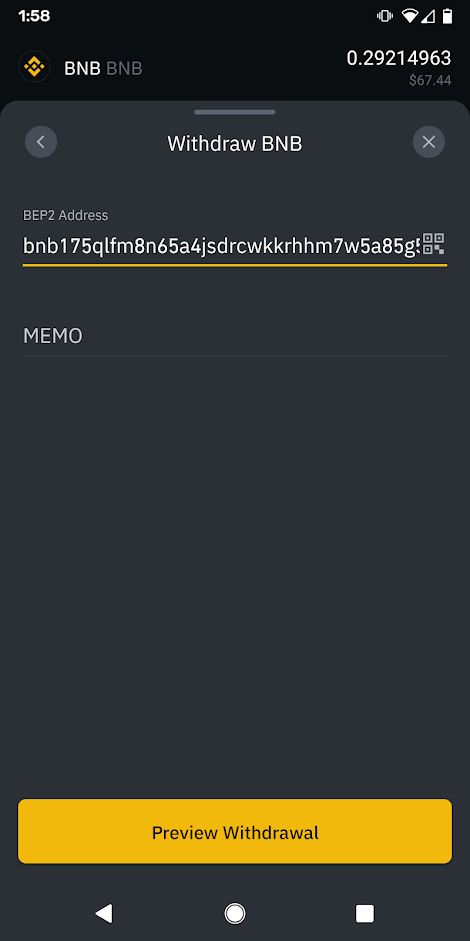
Following that, we will need to enter in the amount of BNB to send to Trust Wallet and press "Preview Withdrawal."
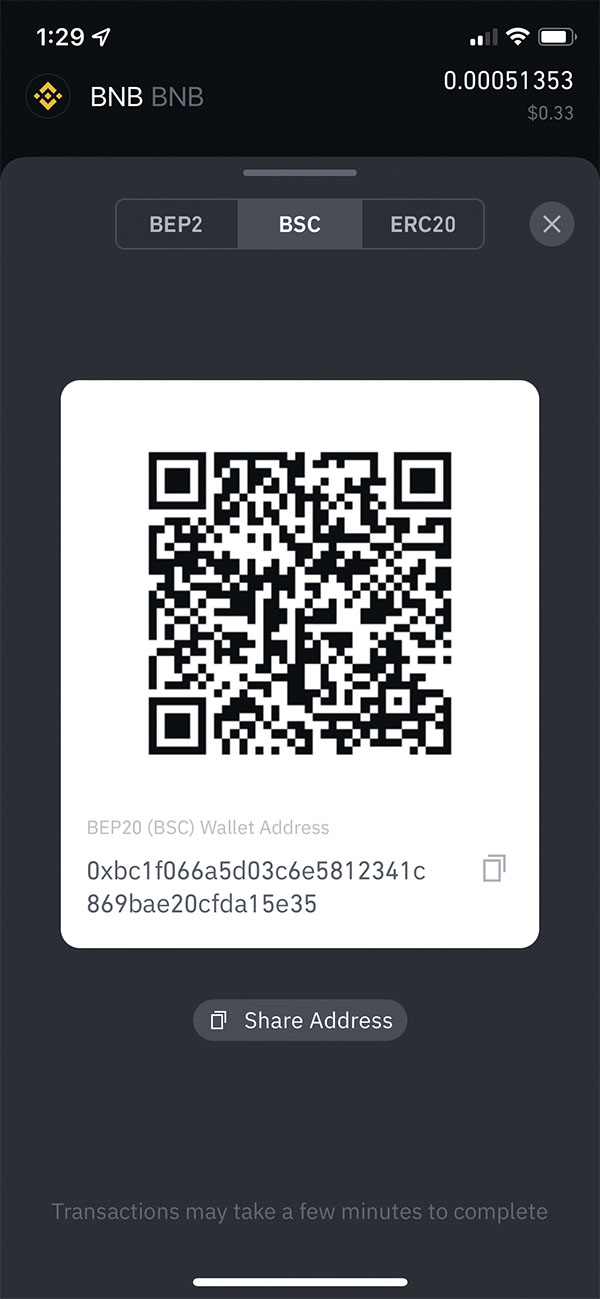
Next, you'll need to retrieve your BNB address from your Trust Wallet.
Open Trust Wallet, click “BNB.” as shown in the above screenshot.
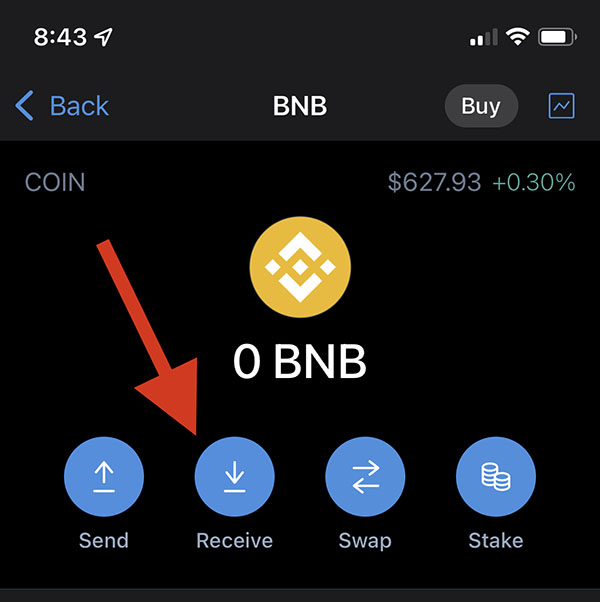
Next, click on "Receive" and copy your address.
Paste the BNB address into the Address section of Binance, where BNB coins will be transferred. Binance will automatically detect the blockchain network. Ensure that the address begins with bnb. Send!
If you want to see the status of your payment, go to the Binance>Wallet. You’ll see a small text hovering in the midst about the progress of your recent payment.
After a few minutes, you will notice that BNB has been deposited into the Trust Wallet.
Step 4 - Connecting Wallet to PanCakeSwap and Altcoins / Shitcoins Contract Address
In this step, we’ll connect our Trust Wallet to PanCakeSwap in order to swap our BNB to any shit or altcoin.
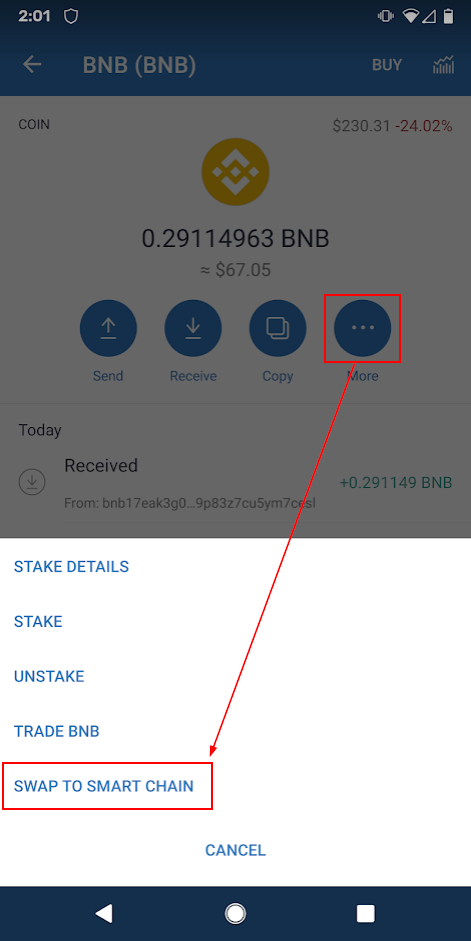
You'll first have to swap your BNB to BNB Smartchain. Now that you have a BNB balance in Trust Wallet, you can use the More button to find a Swap to Smart Chain option.
When you click it, you’ll get a BNB-to-BSC swap prompt. The only thing to be aware of here is that you need BNB to pay the transaction fee (about $1), so you can’t swap 100%. I like to choose 100%, let it fail (which shows the fee amount), then do the math to determine the exact maximum amount to swap.
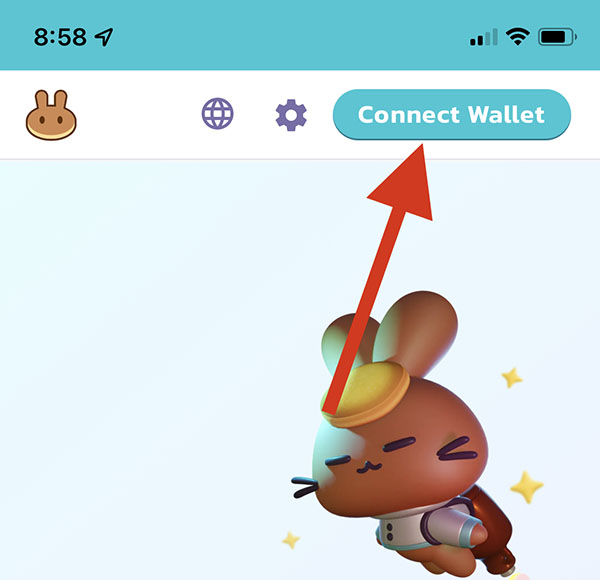
Next, open PanCakeSwap on your default browser and hit the “Connect Wallet” button.
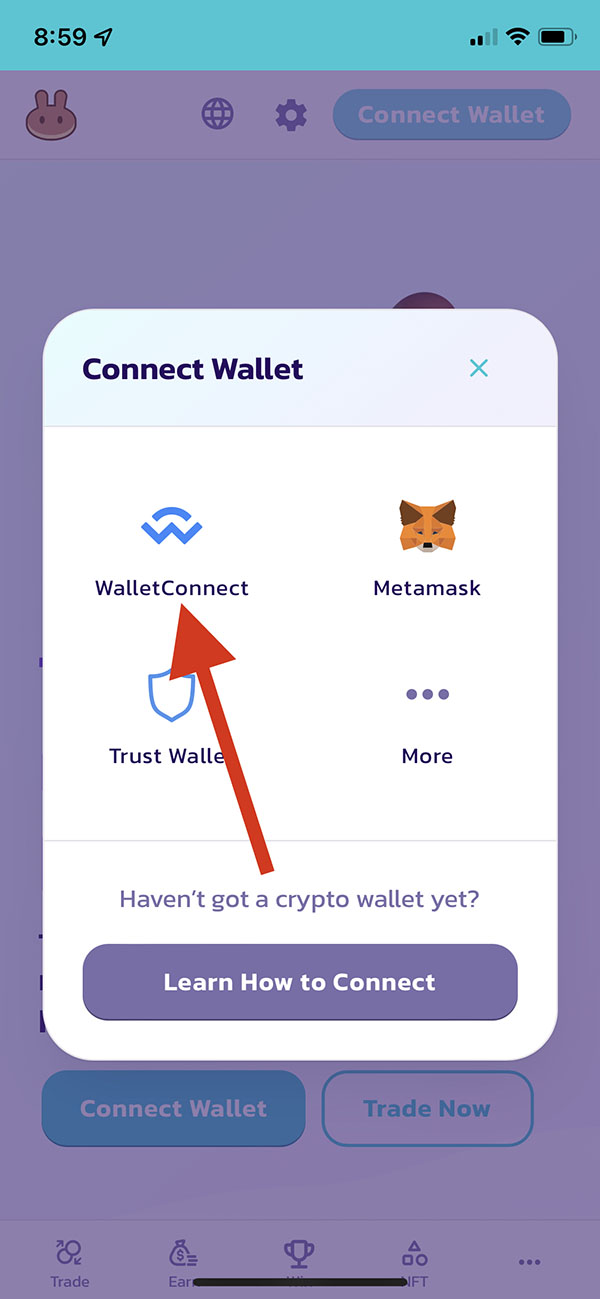
You will be presented with several options; select WalletConnect.

Select "Trust Wallet." A message will appear about connecting PancakeSwap to your TrustWallet. Just hit “Continue.” This could take up to 10 seconds.
You will be prompted by Trust Wallet to return to your browser where you opened PancakeSwap.
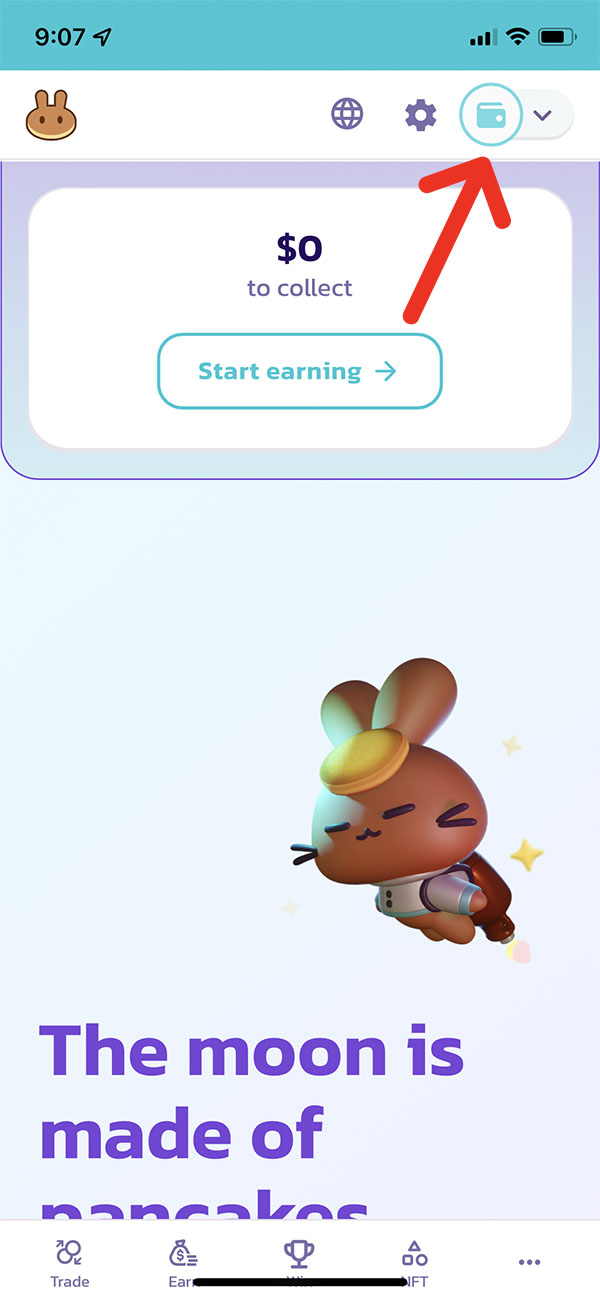
As you’ll see, the “Connect Wallet” button will turn into a wallet icon that indicates your Trust Wallet has been connected successfully.
Now I’ll show you how to buy a token from Pancakeswap. Click the "trade" link on the bottom of the screen to get started.
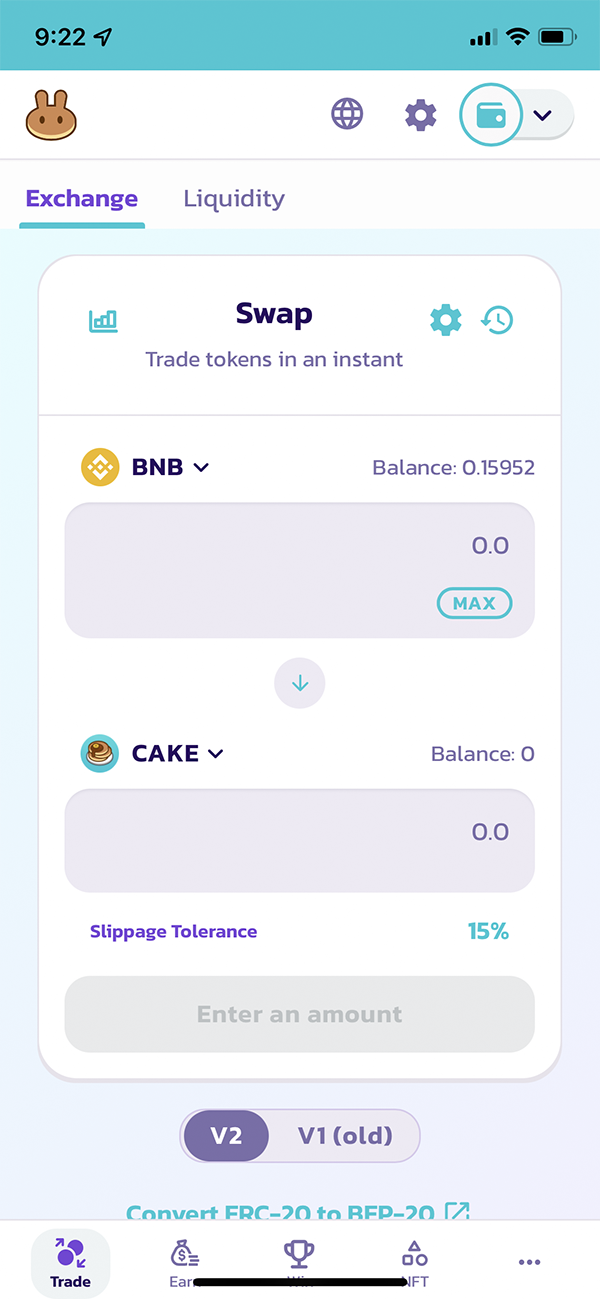
Enter in the BNB Smartchain amount you would like to use to purchase your tokens. To make life easier, I use a quick USD to BNB calculator to figure out the amount I want to trade.
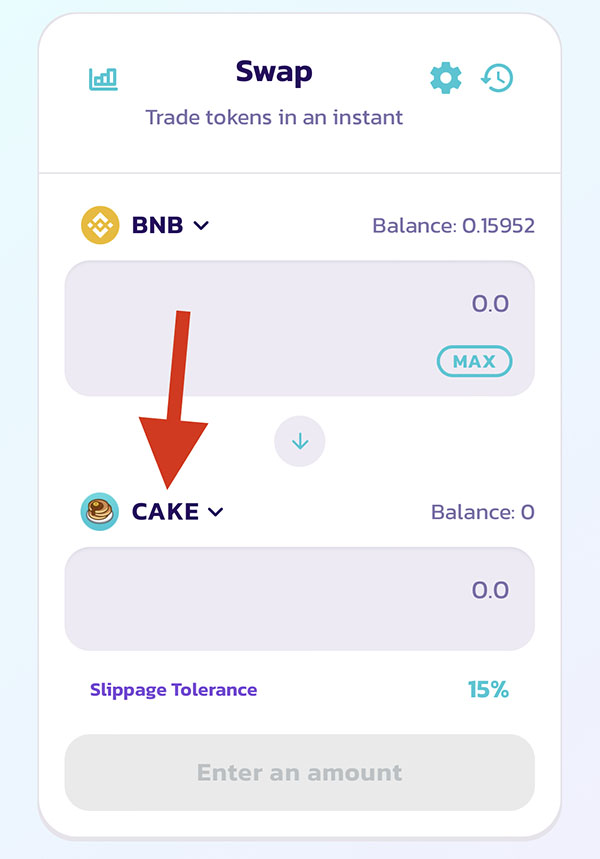
Click on the token shown in the above screenshot to pull up the new token.

Enter in the contract address of the new token you would like to purchase and enable it.
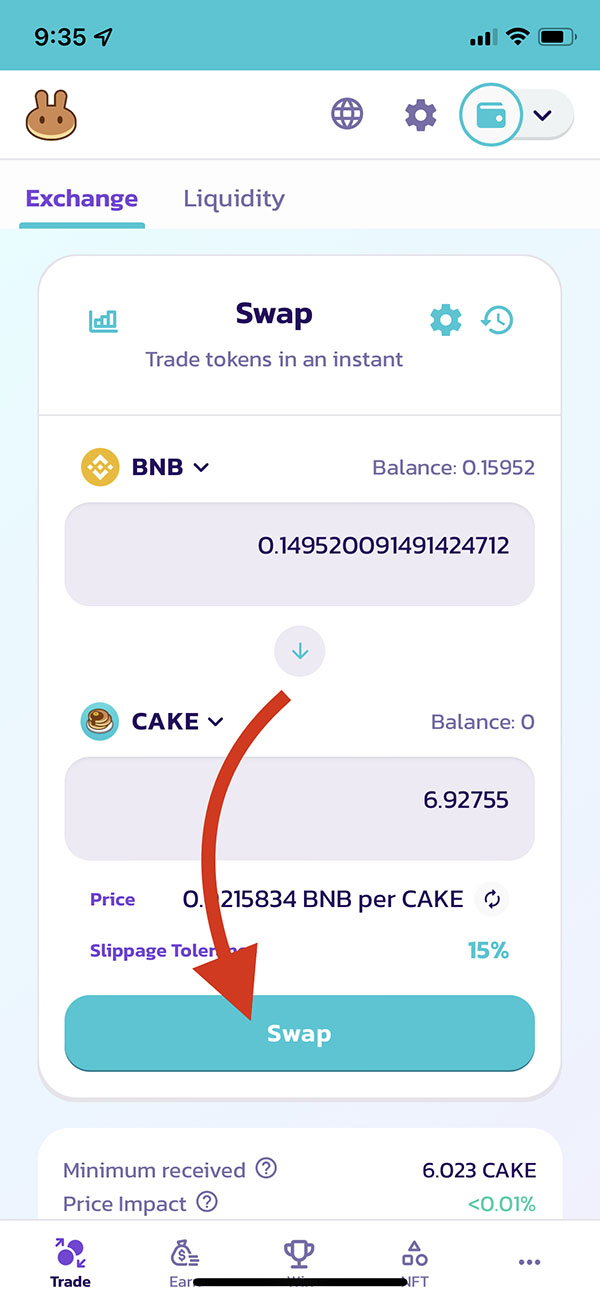
Lastly, hit swap and complete the transaction. You'll be prompted to connect with Trust Wallet to approve the transaction.
When you convert BNB to any new token, it will not appear on Trust Wallet until you add it manually. Don’t worry, I’ll show you :)

In order to add a custom token, click the Setting icon.
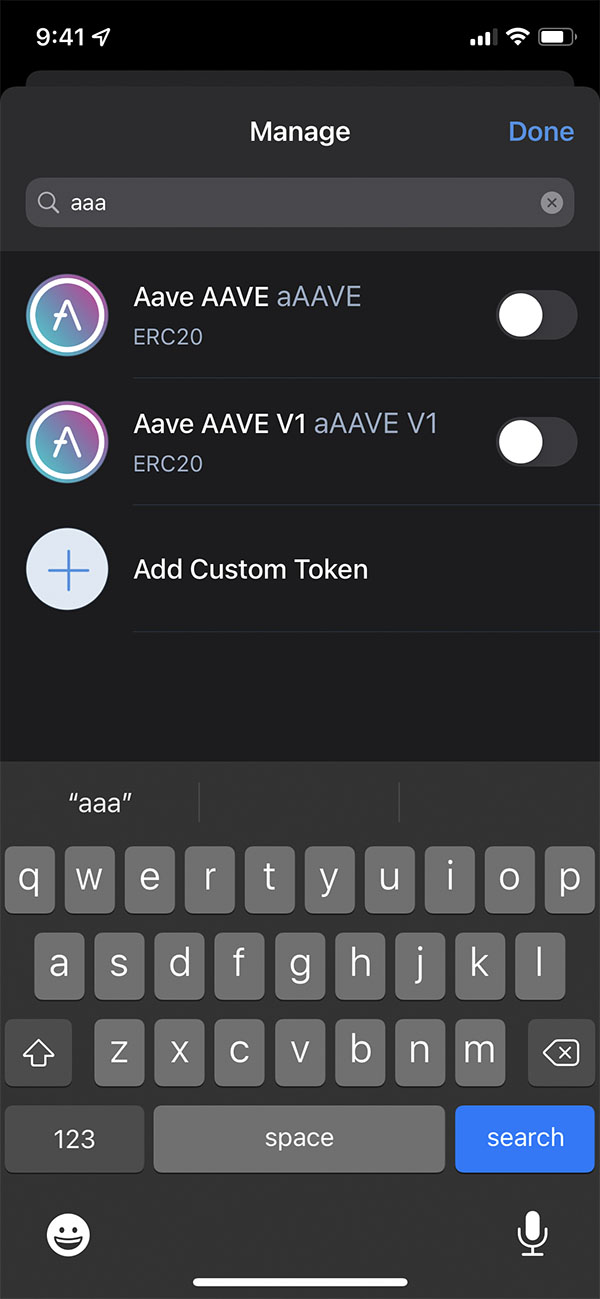
Here I usually type in "aaa" in the search to bring up the option to add a custom token.
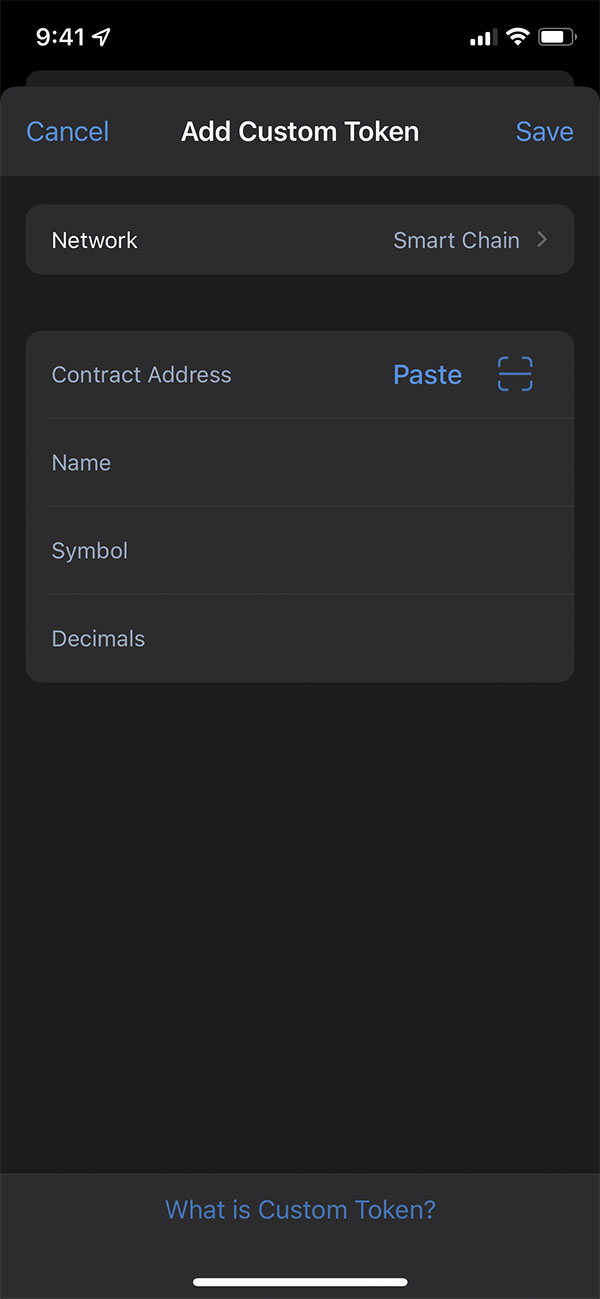
Don’t forget to choose the network as Smart Chain. Paste the token address in the Contract Address field and the rest of the fields should auto populate.
Having trouble finding your token's contract address? It's usually on the official website or in the token's Telegram group.
Congratulations! You’ve learned how to buy shitcoins and altcoins on the BSC Network, Binance Smart Chain.
